
Set the camera exposure and white balance first. Then add Apply LUT to that source and compare the effect with the filter switched off and on.
In this guide
Keep the camera still for the comparison
Choose one position and one light setup. Put something neutral and something colourful in the frame, then stop moving the light between comparisons. If automatic camera processing changes the picture during the test, you cannot easily tell which difference came from the LUT.
Keep the original file and its licence. A preset sold as a camera look is not necessarily a calibration for your particular sensor, lighting or recording pipeline. A result you enjoy on one webcam can be too strong on another.
Add Apply LUT to the intended source
Open the source filters
Right-click the camera source, open Filters and add Apply LUT under Effect Filters.
Look for: The adjustment is attached to the intended camera rather than the whole scene.
Browse to the LUT
Select a supported .cube or LUT .png file. A normal image renamed to .cube is not a conversion.
Look for: The file loads and the source changes when the filter is enabled.
Compare the effect with Amount
Try the effect at full strength, then lower Amount and toggle the filter eye for a comparison.
Look for: You can identify the change and decide whether a lighter application keeps more useful detail.
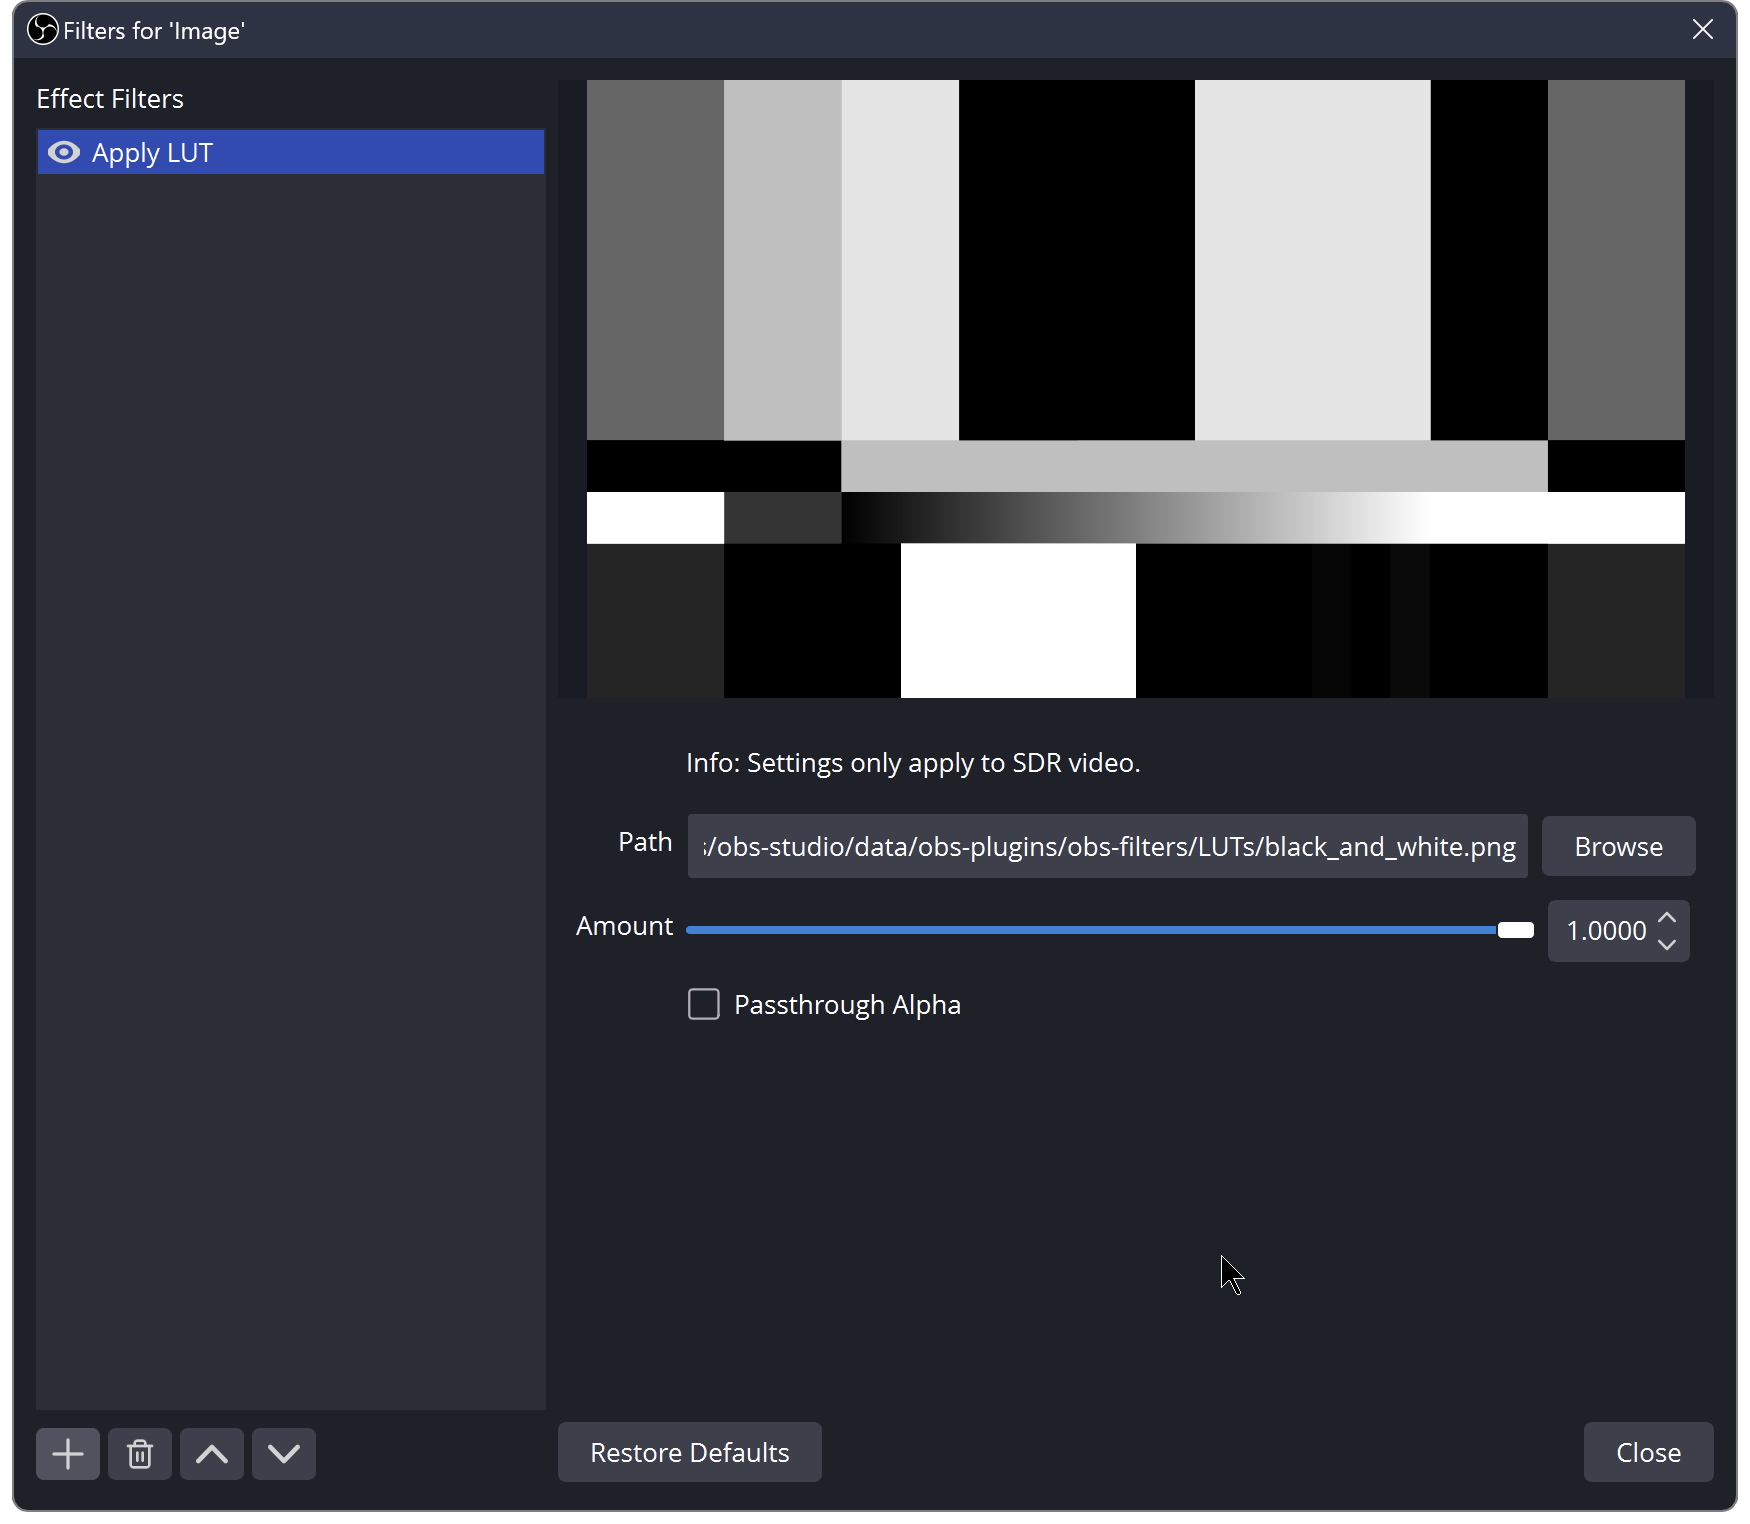 12
OBS demonstrates a black-and-white LUT here. Browse to your own licensed LUT and judge Amount on the actual camera picture.
- Choose the LUT file
- Effect strength
Try an original identity LUT first
The identity CUBE in our practice files maps each sampled RGB value back to itself. Use it to learn the loading step without deliberately applying a creative look. The gentle-warm file is a small original colour transform for comparison, not a camera profile or a promise of accurate skin colour.
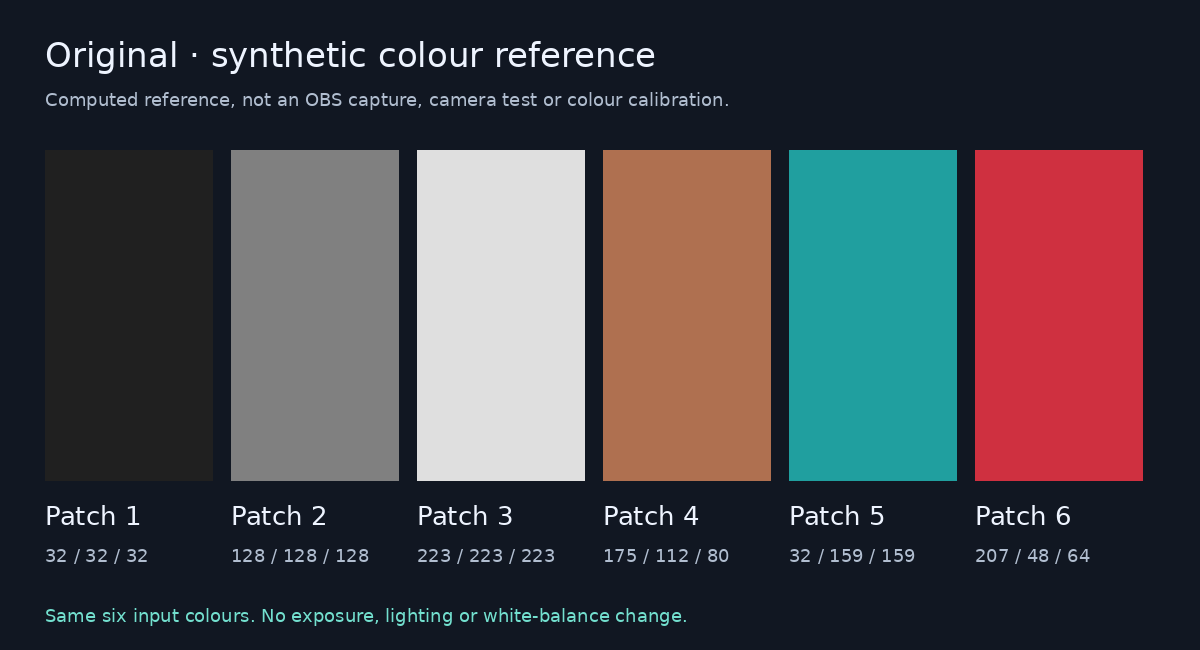
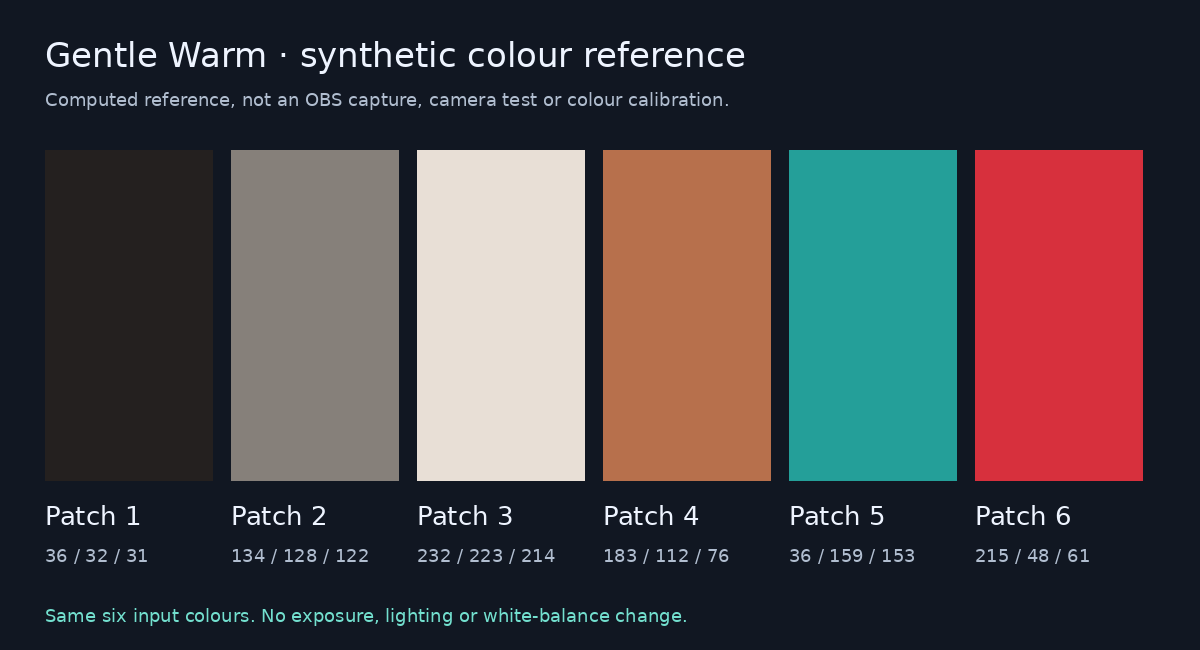
For a file-only check, add the reference PNG below as an Image source in a spare scene. Load the identity CUBE first: the colours should stay the same. Then try Gentle Warm at full strength. The illustration shows the supplied transform on those same six colours; it is a computed reference, not a camera measurement. Return to your camera and keep its light and settings fixed for the before/after recording.
For a useful before/after, hold the scene and camera settings constant, record a short segment with the creative LUT disabled, then repeat with it enabled. Name the clips before comparing them. If the ungraded picture already has crushed shadows or bright areas with no detail, fix that first.
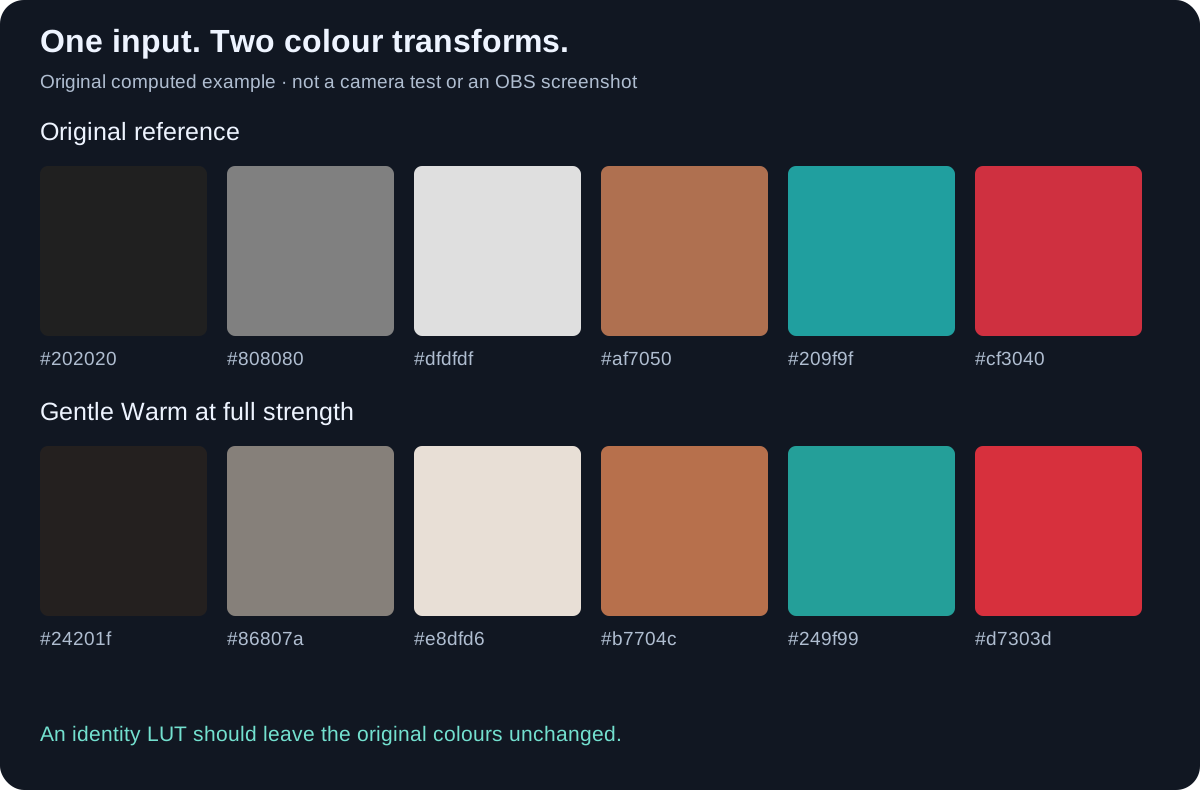
The same six input colours, with the original Gentle Warm transform applied below. An identity LUT should leave the upper row unchanged.
This original 17-point file is an exercise asset. Download the identity CUBE ↗
Compare a mild creative transform on a copy of your setup. Download the gentle-warm CUBE ↗
Load this original six-colour image in a spare OBS scene. Download the input colour reference ↗
Compare it with the input at full filter strength; this is not an OBS capture. Download the computed Gentle Warm reference ↗
Keep other colour changes separate
List any Color Correction filters and camera-app effects already in use. Temporarily bypass one at a time on a spare scene or source so you can hear yourself explain the chain: camera processing, source correction, then the creative look. Re-enable only the changes you want to keep.
A LUT is not the first fix for an HDR recording that looks different in an editor. That problem can involve capture and colour management. Follow the recording guide for that case instead of adding a second look to cancel the first mismatch.
Use this branch when the problem appears after recording or editing. Check an HDR recording colour mismatch ↗
Sources & references
OBS documents the supported LUT formats and Amount control. The CUBE files and computed colour references here are Foxdip originals, separate from the documentation screenshot.
- OBS — Apply LUT Filter ↗Checked 2026-10-27
- OBS — Color Correction Filter ↗Checked 2026-10-27
- OBS — Filters Guide ↗Checked 2026-10-27
Spotted something out of date? Let Alex know.
How we put our guides together ↗