
First, check which part of your microphone you should speak into. Start with that model’s distance guidance, then record yourself speaking, typing and looking at the screen. Keep a position that works while you move normally.
A microphone position you can return to, with a recording to compare after future changes.
In this guide
Before you start
- Your microphone’s exact model and manual.
- Your current stand or mount, correctly installed.
- Headphones and local recording software.
1. Are you speaking into the right part?
Check the manual before copying a microphone angle from a desk photo. Elgato tells Wave DX users to speak into the end; Audio-Technica tells AT2020USB-X users to speak towards the side with the logo. Similar shapes can hide different speaking directions, and a good-looking position may be aimed somewhere other than your voice.
Sit where you normally play or present and look at the microphone from there. Find its intended speaking face, then adjust the angle so it points towards you. Keep the stand stable and follow its adjustment instructions. Settle the direction first so you can hear what changing the distance does without also changing where the mic is aimed.
2. Start with the distance for your model
For Wave DX, Elgato suggests approximately 8–12 cm (3–5 inches). The original Shure MV7 guide describes Near positioning at 1–6 inches and Far at 6–18 inches in its Auto Level discussion. Use the instructions that belong to your microphone and mode. Those examples show why one distance copied from the internet may miss how your particular mic is meant to work.
If the manual gives no number, follow its orientation advice and choose a position you can comfortably hold. Note the rough distance for your recording. You need a repeatable starting point so the next change has something to compare against. Keep the microphone close enough to use as directed while leaving room to read the display and move your hands.
| Microphone | Manufacturer starting point | Try this at your desk |
|---|---|---|
| Elgato Wave DX | Speak into the end; approximately 8–12 cm | Can that position coexist with your screen and normal movement? |
| Original Shure MV7 | Near: 1–6 in; Far: 6–18 in, in the guide’s Auto Level context | Are you using that exact model and the corresponding mode? |
| Audio-Technica AT2020USB-X | Speak towards the logo side; try positions in your environment | Does the intended speaking face remain directed towards you? |
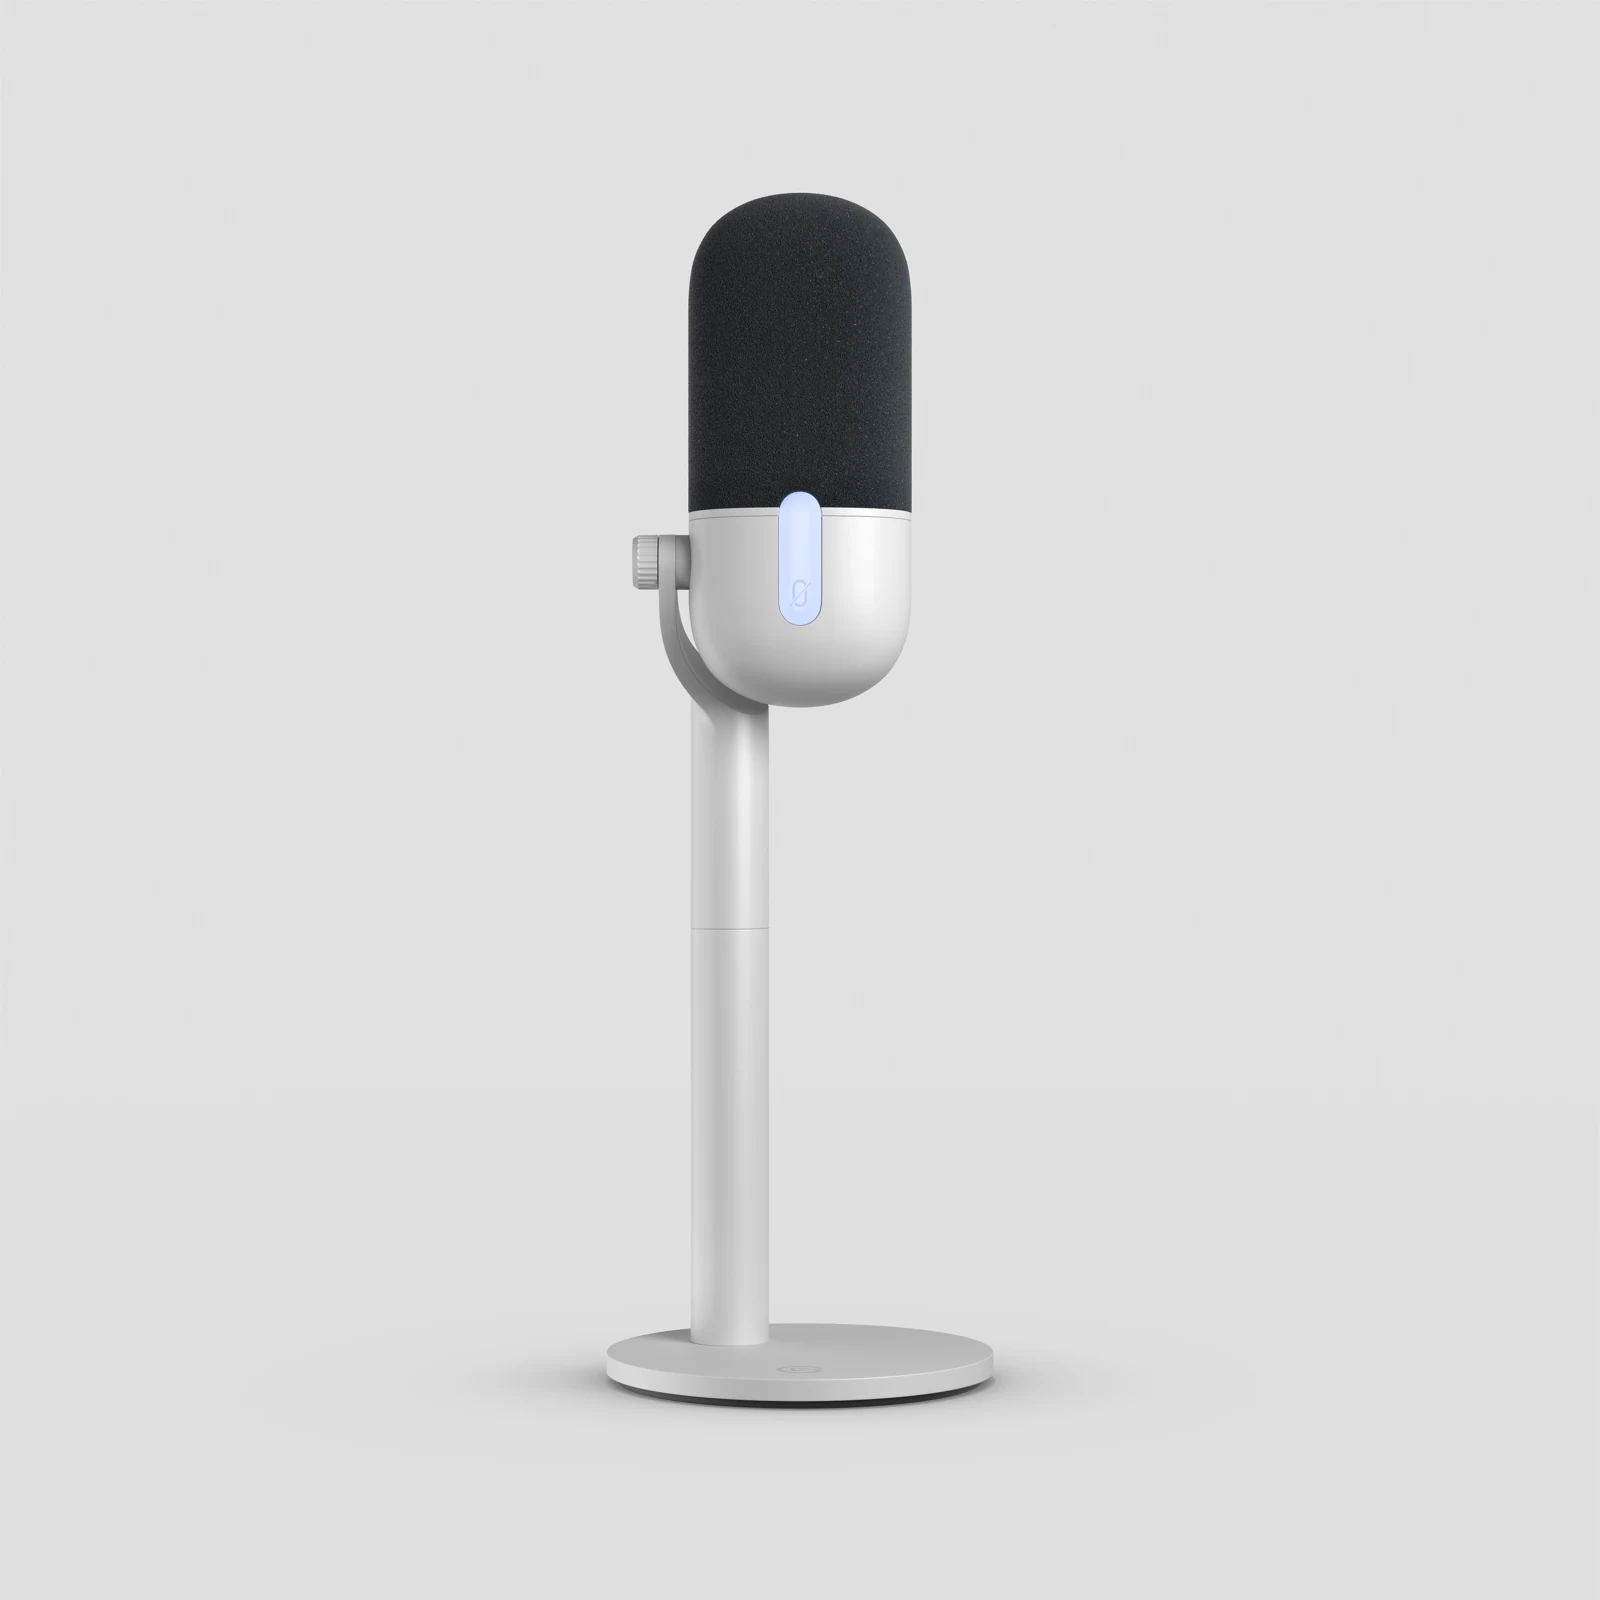
Wave Neo is shown here on its included stand. Identify the speaking side and use the guidance for your exact model; this product photo is not a distance recommendation for every mic.
Keep enough cable slack to return to the position you just chose. Small-Desk Cable Routing: Keep It Tidy and Easy to Fix ↗
3. Record the position you actually use
Make a quick note of the microphone model, selected input, processing mode, visible gain setting and approximate speaking distance. Label the first file “A — current position.” Say a normal sentence, a softer sentence and the more animated voice you use when reacting. You want to hear the range the stream will contain, rather than one carefully delivered line.
While you speak, use the mouse, type a short message and glance at the part of the screen you often read. Sit as you would during the stream. If the position sounds good only while you stay unusually still, this recording should help you catch that before it becomes a habit you have to maintain live.
Stop and play the file. Listen for words that fade, changes in level and sounds caused by bumping the microphone or tugging its cable. Write down the moment you heard: “The last words disappear when I look left” gives you a clear next adjustment. A broad “mic sounds bad” note gives you much less to work with.
If the file still has a doubled voice, look for a second capture route before moving the mic again. OBS microphone sounds doubled? Find the second audio route ↗
4. Move one thing and record again
Make the next recording with one deliberate placement change. You could move the support so the microphone faces you while you read chat, for example. Keep unrelated filters and scene settings as they were. If automatic processing is enabled, note the mode so you remember it may also respond when your distance changes.
If the new position needs a level adjustment, make it and write it down separately. There is little value in keeping a setting that makes the input unusable just to match a number in the earlier note. Compare the recording as a whole while staying clear about which position and controls produced each version.
For breath sounds that interrupt words, start with the placement advice for your microphone. The AT2020USB-X manual suggests moving it slightly out of the direct breath path while keeping it aimed towards the speaker. Try a small adjustment or a compatible accessory you already own, then record the same passage before changing more processing.
5. Keep the position you can live with
Choose a position you can return to without stretching, blocking the display or catching the microphone with your mouse hand. Listen to how it behaves through your usual movements. The isolated sentence matters less if you lose the microphone every time you turn to read something on the screen.
Add a small reference mark or measurement to your notes if that makes the position easier to restore. Check that the support stays secure and the cable remains free through the movements you tried. If you need a new mount to reach the chosen spot, use the desk-compatibility guide to check the clamp, weight and reach first.
Keep the chosen recording with the note. After moving the desk, changing the stand or replacing the microphone, repeat the same passage and movements. You’ll have a familiar file to return to instead of starting from a vague memory of how the microphone sounded before the change.
Keep a position log with two useful boundaries
Find the nearest comfortable position that does not make plosives distracting, then the furthest position you regularly reach while reading chat. Record the same line at both. Note the gap between the capsule and mouth and whether you turned your head; those two changes should not be mistaken for one.
Use your model’s speaking side and manufacturer starting distance. For example, the Wave DX instructions specify end-address use around 8–12 cm. That is a starting point for that microphone, not a rule for every capsule. Your useful range is the range that preserves understandable speech through the movements you actually make.
| Observation | Next change | Expected result |
|---|---|---|
| Forward position works; chat glance becomes faint | Move the chat window or mic route to reduce the turn | A normal glance keeps the voice usable |
| Close position adds bursts on P and B | Try a small angle change while keeping distance comparable | Less burst without losing the sentence |
| Moving back adds much more room sound | Reduce the necessary movement before increasing processing | The position stays repeatable during play |
Compare capsule choices only after establishing a workable speaking position. Dynamic or Condenser Mic for an Untreated Streaming Room? ↗
Still stuck?
My voice gets quieter when I look at another monitor.
Record that movement, then try a position aimed towards the area where you naturally speak. Compare the position before changing filters.
The good-sounding position blocks my screen.
Try another support location first. Before buying an arm, check its clamp space, reach and total attached weight. Continue with this guide ↗
OBS gets no microphone signal wherever I put it.
Check the input connection and selected device before moving the microphone again. Continue with this guide ↗
Sources & references
The placement examples use Elgato, Shure and Audio-Technica guidance checked on 18 October 2026. November 2026 addition: documentation-based diagnostic examples; no new hands-on hardware result or platform upload test is claimed.
- Elgato: Wave DX — How to get the best sound ↗Checked 2026-11-04
- Shure MV7 user guide — original MV7 ↗Checked 2026-10-18
- Audio-Technica AT2020USB-X user manual ↗Checked 2026-10-18
Spotted something out of date? Let Alex know.
How we put our guides together ↗