
Start with one screen and the gear you own. Measure the stand footprints, leave your normal mouse movement clear, and try the layout before adding mounts or a second screen.
A desk layout you can use comfortably, with a specific job for any accessory you still need to buy.
In this guide
Before you start
- A tape measure and your usual streaming equipment.
- Paper templates or removable tape suitable for the desk.
- Desk and mount instructions if you plan to use a clamp.
Leave room for the things that move
A 100 cm desk can hold a lot of equipment until you try to use the mouse. Start with the screen, keyboard, microphone and movement you need during a normal session. The monitor base and desk depth matter as much as the overall width. Keep the main screen in front of you and try a simple layout with the equipment you already own.
We’ll use an illustrative 100 × 60 cm tabletop to work through the planning. Adjust the measurements to your own desk; this isn’t a tested build or a shopping list. The aim is to find where your equipment can sit while you speak, type, move and reach the controls you use most.
1. Measure the footprints, including the awkward bits
Measure the monitor stand, keyboard and microphone base, then give the mouse the area you actually use in a game. Add plugs, cable bends and space for your hands to reach controls. Check usable depth too: a desk against a wall may leave less room behind the monitor or clamp than it first appears.
Cut paper rectangles or use removable tape suited to the surface to mark the footprints. Move those shapes around before lifting the equipment. A cardboard stand-in at microphone height can also reveal a blocked part of the screen. This is a good moment to notice that an accessory would be inconvenient, while it is still only a piece of paper.
| Object or space | Measurement you need | Why it matters |
|---|---|---|
| Desk | Usable width, depth, thickness and construction | A 100 cm width alone does not show clamp fit or available depth |
| Monitor | Stand footprint and screen width | The stand can consume the same space needed by the mic or keyboard |
| Keyboard | Actual width and depth including the cable | Include a wrist support only if you use one |
| Mouse | The area used by a normal game movement | Do not reduce this to the mouse’s body size |
| Microphone | Base footprint or arm mounting point | It has to reach a usable speaking position |
| Ports and leads | Connector locations and cable path | The cable must still reach when the mic moves |
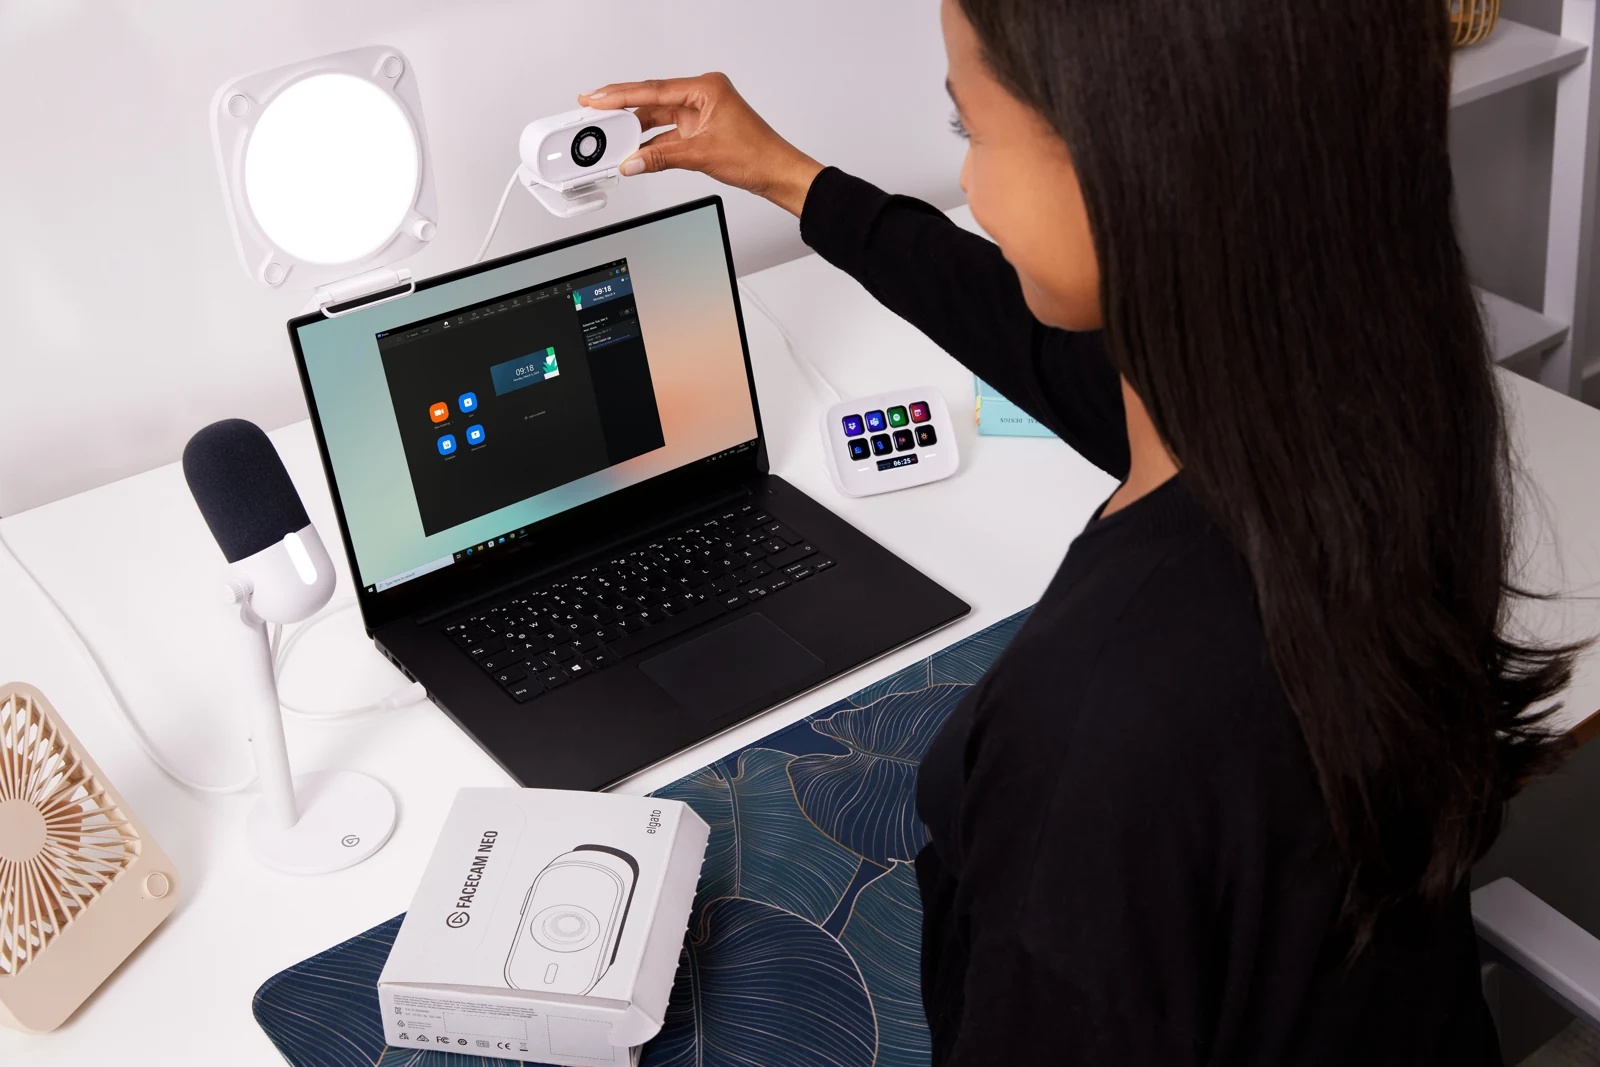
A real Elgato setup shows how a microphone, screen, keyboard and mouse share a work surface. Its desk is not identified as 100 cm wide: use your own measurements for the plan below.
When the equipment positions work, label the leads and try their routes before fastening them. Small-Desk Cable Routing: Keep It Tidy and Easy to Fix ↗
2. Give the main screen and mouse first choice
In the example layout, put the keyboard and everyday mouse movement in the front working area. Set the main monitor behind them, in front of your seat, then look for a microphone and cable route at the side or rear. Adjust the arrangement around your real footprints; the labels describe the jobs those areas need to do.
CCOHS recommends adapting screen placement for comfortable viewing. Keep the main display somewhere you can read it easily rather than shifting it around a decorative object. If a second screen leaves the first at an awkward angle, try one screen while you settle the desk. More equipment is helpful only when you still have room to use it.
| Zone | Keep | Leave optional |
|---|---|---|
| Front working area | Your normal keyboard position and mouse sweep | Controller display, ornament or second keyboard |
| Main viewing area | Main screen and its stable support | Second screen until the first is comfortably placed |
| Side/rear service area | A reachable microphone and unstrained cable route | Extra light/mount unless it solves a specific problem |
| Free access | Reach to mute, plugs and essential controls | Permanent storage for every accessory |
Compare the audio connections before adding an interface and its cables to the layout. USB vs XLR for Streaming: What Does Your Setup Need? ↗
3. Add a mount only when it gives something back
Keep the included monitor or microphone stand if the layout works with it. An arm can reclaim its footprint, but the arm needs an approved clamping point and room to swing. A blocked desk edge, unsuitable tabletop or nearby wall may make it harder to place than the original stand. Sketch the movement before counting that space as saved.
Measure the clamping point, speaking position and parked position. For example, Wave Mic Arm Pro lists a clamp opening up to 60 mm and a maximum 3 kg load. Compare those with the complete attached weight and your desk instructions. The pads must seat properly, and the desk must support that kind of mounting at the location you choose.
4. Connect it before fastening the cables
Connect your usual devices and follow every lead to the computer. Leave the microphone enough slack to move and keep tension off the connectors. Reach for mute, volume and any controls you use during a stream. Keep those accessible while trying the layout; you can fasten the cable bundles once the equipment has settled into place.
Count the ports and check each device’s connection instructions before adding a hub. A USB-C-shaped plug alone doesn’t tell you the supported speed, power or compatibility. Use a suitable data cable for the device. A small desk benefits from fewer surprises as much as fewer visible cables, so keep track of what connects where.
5. Use the desk as though the stream has started
Sit down, type a message, make your normal full mouse movement and speak into the microphone. Reach for mute, open the streaming controls and read the parts of the screen you use. Make a short offline recording if you can. Watch the camera framing and listen to the audio from that actual seated position.
When something gets in the way, name it before changing the layout. “The mouse hits the mic stand” calls for a different adjustment from “I can’t read chat comfortably.” Move the smallest relevant piece and repeat the same action. Keep the useful spaces clear even if an empty patch looks less impressive in a desk photo.
- Can you complete your normal mouse movement without hitting equipment?
- Can you speak into the microphone while typing and reading?
- Are mute and the controls you need within easy reach?
- Can every mount move and park with its clamp stable and cables slack?
- Have you left the ventilation and cable clearance the equipment requires?
Buy for the problem that is still there
Try the free changes first: move a lamp, clear unused storage, put the microphone on the other side or spend time with one screen. If a purchase still makes sense, give it a precise job. You might need a smaller base, an approved mount, a suitable connection or a camera angle that leaves the display clear.
Compare the complete cost of that change in your market, including adapters, delivery, tax and return terms. Set up the physical desk and run the audio check before decorating the scene. Once you can sit down and use the equipment without rearranging it, you have a much better starting point for making the stream your own.
Plan the swept area, not only the footprints
On a 100 cm desk, an object can fit at rest and still block the next action. Draw three outlines for the mic: speaking, moved aside and parked. Add the mouse sweep, keyboard travel, chair approach and any monitor rotation. Use paper markers first so the exercise does not require moving loaded equipment.
Choose one repeatable transition, such as leaving gameplay to type a chat reply and returning. A layout passes when you can complete it without striking a stand, pulling a cable or changing your speaking posture. This is a personal fit exercise; the dimensions do not establish ergonomic suitability by themselves.
| Observation | Next change | Expected result |
|---|---|---|
| All objects fit but the mic crosses the mouse path | Change the mounting origin or parked position | Both activities have their own usable space |
| Display rotation pulls a cable tight | Allow the actual movement before fastening cables | The connector remains relaxed throughout rotation |
| The layout works only with the keyboard pushed away | Keep the keyboard in its real typing position | The measured desk plan reflects normal use |
Route cables after the movement plan works. Small-Desk Cable Routing: Keep It Tidy and Easy to Fix ↗
Still stuck?
Everything fits until you start using the mouse
Measure the movement area rather than the mouse body; move optional objects first.
A mount would free space but the edge is unsuitable
Keep a supported stand or ask the manufacturer about an approved alternative. Continue with this guide ↗
Sources & references
This planning exercise uses an illustrative 100 × 60 cm desk and manufacturer and CCOHS guidance checked on 18 October 2026. November 2026 addition: documentation-based diagnostic examples; no new hands-on hardware result or platform upload test is claimed.
- CCOHS — Office ergonomics: positioning the monitor ↗Checked 2026-10-18
- Elgato — Wave Mic Arm Pro quick start guide ↗Checked 2026-11-04
- Elgato — Wave Mic Arm Pro specifications ↗Checked 2026-10-18
Spotted something out of date? Let Alex know.
How we put our guides together ↗