
Check the mounting surface, clamp seating, total microphone weight, thread and movement space. All five need to work together for an arm to fit your desk.
A mounting plan that covers the clamp, weight and reach, with any unanswered fit questions ready for the manufacturer.
In this guide
Before you start
- The exact desk and arm models, with their manuals.
- Measurements at the spot where you want to clamp.
- Microphone, mount and accessory weights and thread sizes.
A clamp that opens wide enough is only the first check
The arm needs a mounting point your desk supports, enough room for both clamp pads, the right load range and a clear path to your mouth. Check these together. A clamp might fit the tabletop thickness while its lower pad hits a frame rail, or the arm might reach you only by crossing the screen.
Use the measurements below with the manual for the exact arm you’re considering. If the desk maker can’t confirm that a mounting point is suitable, keep the existing desk stand or look at a separately supported stand. Tightening the clamp harder won’t answer a missing compatibility question.
1. Look underneath the mounting point
Measure where the two clamp pads would actually sit. Then look underneath for a frame rail, apron, cable tray, bevel or drawer. Both pads need room to seat as the arm maker intends. Check pad depth as well as tabletop thickness, and look behind the desk for a wall or monitor cables that could block adjustment.
Read the desk maker’s restrictions for concentrated clamp loads and drilling. Glass, hollow-core surfaces, decorative lips and unsupported edges need confirmation for that specific desk. A reinforcement plate alone doesn’t settle the question. If a through-desk mount needs drilling, check that the desk is suitable and that you’re allowed to make that change before choosing it.
- What is the tabletop made from, and does its maker allow this mounting method?
- How thick is the actual clamping point?
- Can both pads sit flat with enough depth?
- Is there room to tighten the clamp without hitting a tray or your knees?
- Can the arm extend and park without hitting the wall or screen?
Once the arm fits, give its cable enough slack for speaking and parked positions. Small-Desk Cable Routing: Keep It Tidy and Easy to Fix ↗
2. Count everything the arm will hold
Start with the microphone’s mounted weight, then add the shock mount, adapter and attached accessories. Use the arm’s stated range, including a minimum load if one is listed. Very light microphones can fall outside a spring arm’s intended range just as heavy combinations can exceed its maximum. Shipping weight won’t help with this calculation.
Check the microphone and mount threads at the same time, then see which adapters come in the box. A matching thread gets the parts connected; the weight and reach still need checking. Keep model names exact: RØDE PSA1 and PSA1+ have different specifications, as do Elgato Wave Mic Arm LP and Wave Mic Arm Pro.
Find the speaking position you want the arm to reach before choosing one. Microphone Distance and Placement: Find Your Speaking Position ↗
Read the specification sheet for the exact arm
These two models show the figures to collect before ordering. Compare them with your own desk measurements and full attached weight. Once those numbers fit, you still need a clear movement path and a mounting surface approved for the job. Keep the matching installation guide beside the specification sheet.
| Exact model | Manufacturer specifications | Your remaining checks |
|---|---|---|
| Elgato Wave Mic Arm Pro | Clamp opening up to 60 mm; maximum load 3 kg; 750 mm reach; 1/4-inch mount with 3/8- and 5/8-inch adapters | Desk construction and clamp seating; load with accessories; clearance across the arm’s full motion |
| RØDE PSA1+ | Specified microphone/shockmount load range 94 g–1.2 kg; clamp and threaded desk mounting options | Current manual’s clamp dimensions; desk restrictions; thread, reach and accessory weight |
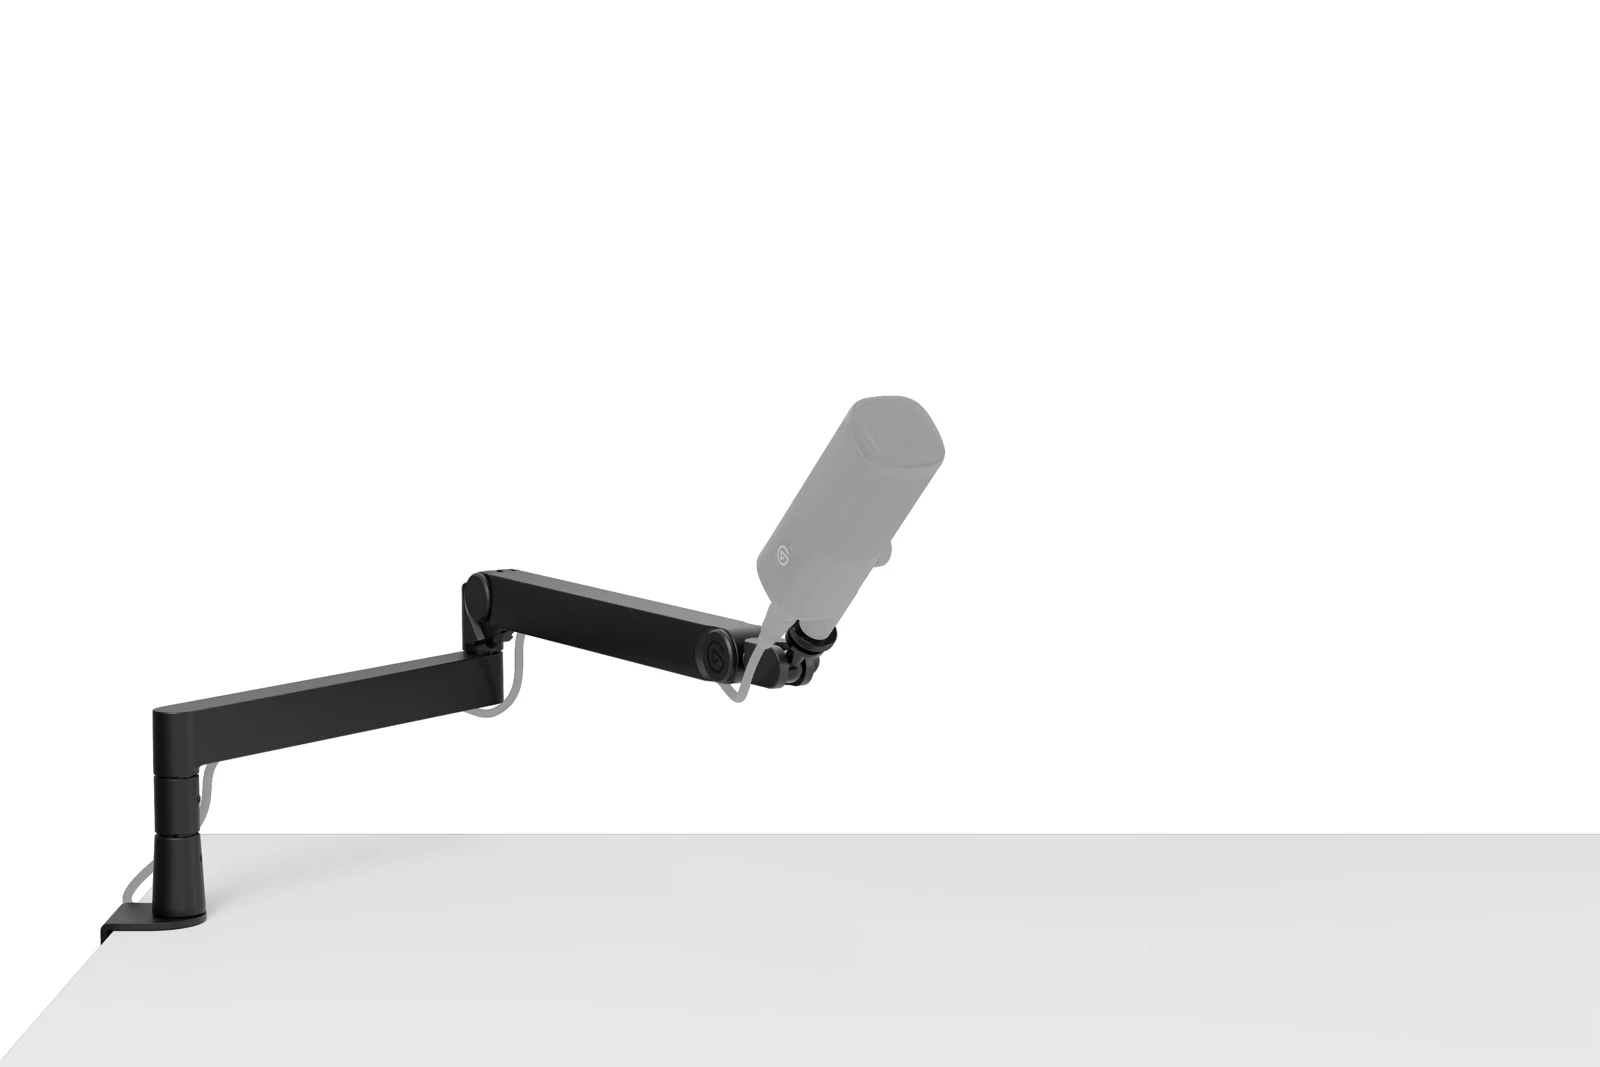
Wave Mic Arm Pro with its desk clamp. The microphone silhouette is shown for context; check the exact package contents and mounting requirements.
3. Rehearse where the arm needs to go
Sit in your normal streaming position and mark the microphone position recommended for your model. From the proposed mounting point, use a tape measure or string to explore the route. Leave room around the monitor rather than drawing a straight line through it. The advertised reach gives you a starting measurement, while your furniture decides how much of it is usable.
Try three positions: speaking, typing and parked. A low-profile arm may fit beneath the screen but hit its base. An overhead arm may block the camera or a shelf. Picture reaching for mute and moving the microphone aside. Those small movements are part of the fit, especially on a desk with little spare room.
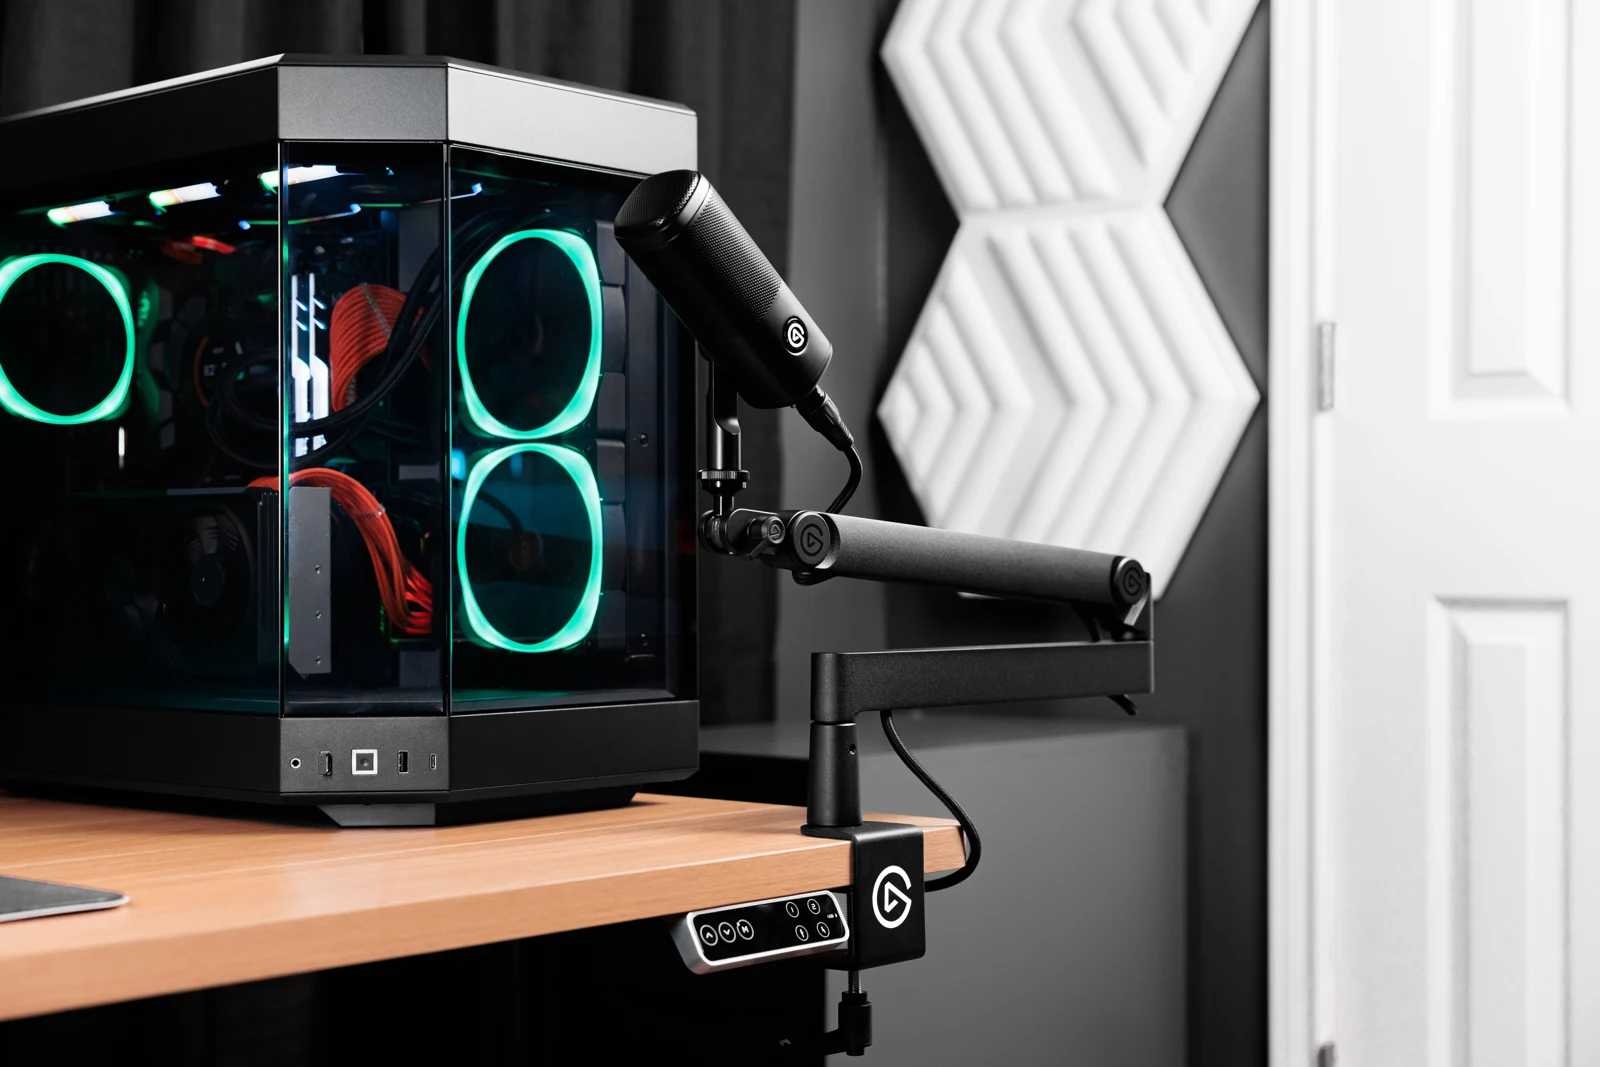
Wave Mic Arm Pro mounted at a desk in Elgato’s official setup photograph. Your tabletop and clearance still need their own compatibility checks.
4. Install, then move it slowly through the full route
Follow the exact manual on a suitable, approved surface. Elgato’s Wave Mic Arm Pro guide warns against overtightening, exceeding the load and careless release of an unloaded arm, which can spring back. Use the specified adjustment procedure when setting the arm to hold the microphone in place.
Route the cable with slack for movement and connector bends, then slowly try the positions you planned. Stop if the clamp shifts, the desk deforms, the cable pulls tight or an accessory lacks support. Check the parked position as carefully as the speaking position: that is where the arm will go whenever you need the desk back.
Before checkout, answer these six questions
Fill in the answers while you have the desk measurements and both manuals open. If a fit detail is missing, send that specific question to the manufacturer. Include the adapter or approved mount you need in the total, along with delivery, tax and the seller’s return terms.
| Question | Write your answer |
|---|---|
| Can this exact desk support this type of clamp here? | Desk model/material and the maker’s instruction |
| Does the clamp seat completely? | Thickness, pad area and underside obstruction |
| What is the full attached load? | Microphone + mount + adapter + attached accessories |
| Do the threads match? | Microphone/mount thread and required included or separate adapter |
| Can it reach and park? | Speaking position, monitor clearance, wall gap and cable slack |
| What does the usable setup cost? | Arm, necessary accessories, delivery, tax and return terms |
Diagnose a drifting arm before tightening the clamp
A microphone drifting downward, a swivelling head and a moving desk clamp are three different observations. Support the assembly and identify the moving joint before following the model-specific adjustment procedure. On Wave Mic Arm Pro, gas-spring adjustment and joint friction use different instructions; copying a turn direction from another arm is not a reliable fix.
Photograph the supported speaking and parked positions. If the desk or clamp moves, stop the trial and resolve that mounting issue. If only one joint moves while the mounting point stays sound, use that joint’s instructions with the complete attached load.
| Observation | Next change | Expected result |
|---|---|---|
| Whole base moves relative to the desktop | Recheck approved mounting surface and pad seating | The mounting point stays fixed |
| Arm height changes but the base stays fixed | Check full load and the correct balance adjustment | The microphone holds its useful height |
| Only the microphone head rotates | Check the head joint and adapter fit | The speaking angle stays repeatable |
Set the desired speaking position before adjusting the arm balance. Microphone Distance and Placement: Find Your Speaking Position ↗
Still stuck?
The clamp opens wide enough, but the lower pad hits the frame.
Find a mounting point the desk maker permits, with room for the whole pad. Keep the clamp clear of the obstruction.
The arm drifts or springs back.
Check the total attached weight against the exact arm’s range, then follow its adjustment procedure.
Sources & references
The fit checks below use manufacturer specifications and installation guides checked on 18 October 2026. November 2026 addition: documentation-based diagnostic examples; no new hands-on hardware result or platform upload test is claimed.
- Elgato — Wave Mic Arm Pro specifications ↗Checked 2026-10-18
- Elgato — Wave Mic Arm Pro quick start guide ↗Checked 2026-11-04
- RØDE — PSA1+ ↗Checked 2026-10-18
Spotted something out of date? Let Alex know.
How we put our guides together ↗