
Turn on Replay Buffer in Settings → Output, pick how many seconds to keep, set a Save Replay hotkey, then click Start Replay Buffer. When something great happens, press the key. OBS saves the last few seconds to a file.
- Open Settings → Output and tick Enable Replay Buffer.
- Set the length. 30 to 60 seconds is plenty to start.
- In Settings → Hotkeys, give Save Replay a key you don't use in games.
- Click Start Replay Buffer in the Controls panel.
- Play for a minute, press your key, then open the recording folder.
- Watch the clip. Check that the scene and audio are what you expected.
Choose a rolling duration, start the buffer and verify the saved clip before a real highlight.
In this guide
Before you start
- A working OBS recording profile and a folder with free space.
- Enough spare memory for a short rolling buffer and an unused hotkey.
Choose the moments you want to keep
Replay Buffer is useful when the interesting moment happens before you decide to record it. Pick a duration that covers the action and a little lead-in. A thirty-second buffer might suit a short game event; a longer conversation needs a different plan. Start small while you learn where files go.
The buffer must already be running. Pressing Save after an event cannot recover time from before it started. A newly started buffer also has only the material collected so far, so the first saved clip may be shorter than the chosen maximum.
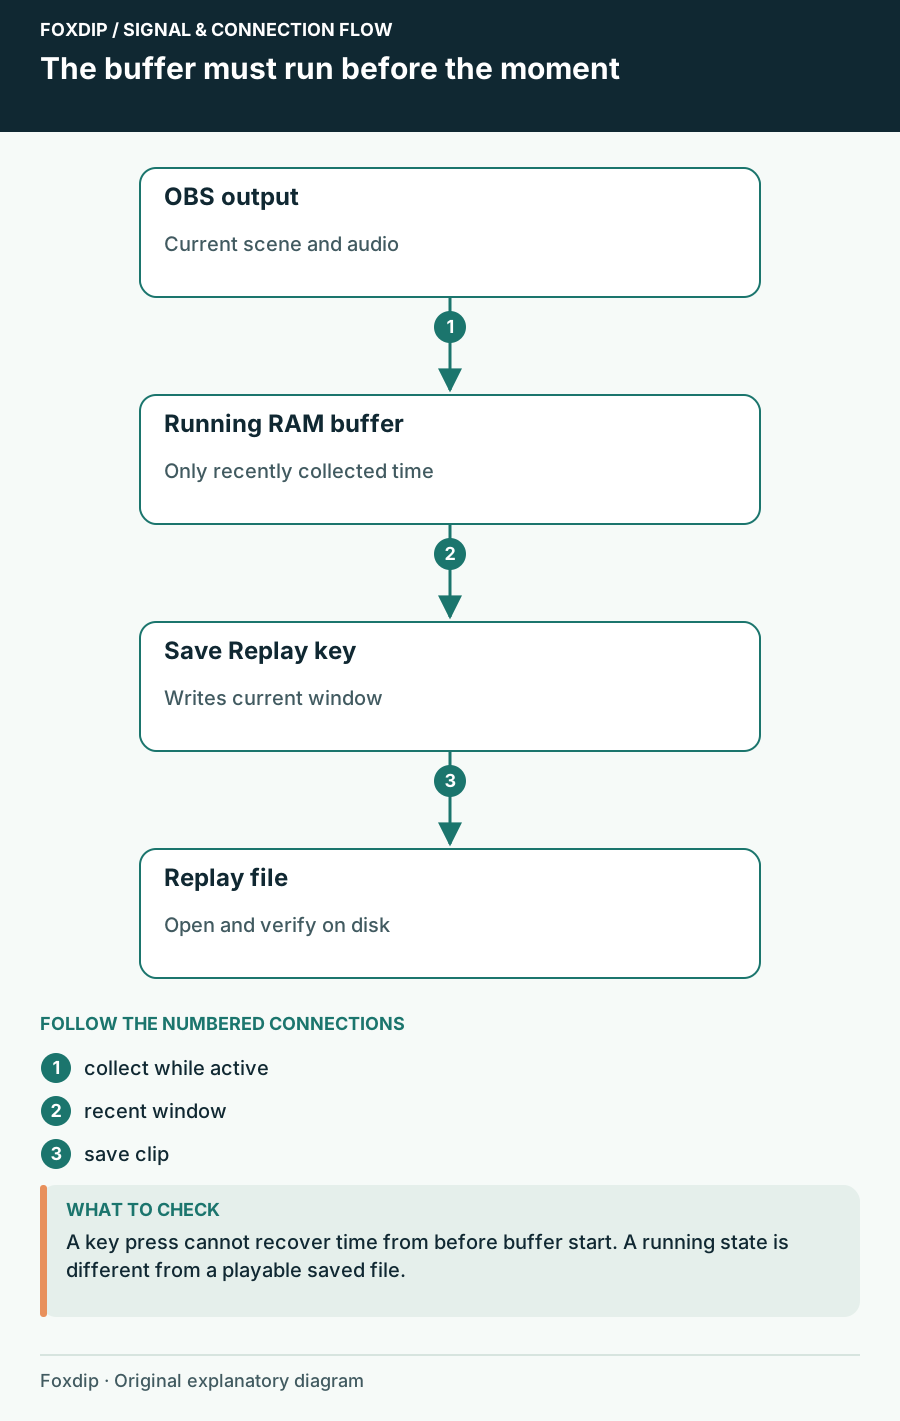
Original Foxdip schematic. Follow the labelled checks alongside the guide.
A running buffer and a saved file are two checkpoints
After starting the buffer, create a recognizable event, save once, then inspect the file path reported by OBS and open the new file. If the shortcut appears to do nothing, try the save control in OBS with the same running buffer. This separates keyboard activation from the buffer’s ability to write a file.
Check any warning before retrying repeatedly. OBS includes a warning that replays cannot be saved while recording is paused, as well as separate recording-path and disk-space errors. Fix the named condition, then make another short replay with the game focused.
| Observation | Next change | Expected result |
|---|---|---|
| Save control works but the keyboard shortcut does not | Use the hotkey focus/assignment check | Keep the working buffer configuration |
| OBS reports a saved path but you cannot find the clip | Open that exact path and inspect its timestamp | Avoid searching an assumed Videos folder |
| OBS reports paused recording or a destination error | Resolve that stated output condition | Create one playable file before relying on the next highlight |
| The clip is shorter than expected just after startup | Allow enough material to enter the running buffer | Compare a later save with the requested duration |
Investigate focus only if the in-app save succeeds. OBS Hotkeys Stop Working in Games: Check Focus and Conflicts ↗
Enable it in the recording configuration
Open Settings → Output and enable Replay Buffer in the output mode you use. In Advanced mode, inspect the Replay Buffer tab and its duration and available memory controls. The recording encoder, format and tracks deserve a check too, because the saved clip needs to fit the same editing workflow.
OBS’s overview specifically pairs enabling the buffer with assigning a save hotkey. Do both before expecting a file. A buffer running silently in memory is different from a clip saved to disk; the visible running state confirms the first, while a playable file confirms the second.
Make one shortcut do one job
Assign Save Replay
In Settings → Hotkeys, find Save Replay and assign a combination that does not start/stop recording, control chat or trigger the game. Apply it.
Look for: The save action has an intentional shortcut.
Remove conflicting assignments before trying it during a game.
Start and fill the buffer
Use Start Replay Buffer in Controls. Wait long enough for the chosen check duration while recording a recognizable action or spoken count.
Look for: The buffer indicates that it is running and has had time to collect material.
If it will not start, inspect the output error before changing hotkeys.
Save and open the result
Press the shortcut once. Open the recording folder and play the new replay file.
Look for: The clip contains the recent action and the intended audio.
If no file appears, use the visible save control if available to separate a shortcut failure from an output failure.
Budget duration with memory in mind
Longer buffers and higher data rates require more memory. As a rough planning example, 20 Mb/s for 60 seconds is about 150 MB of compressed data before audio and overhead. Variable-quality recording can use a changing bitrate, so that arithmetic is an estimate rather than a guaranteed allocation.
Watch available memory under your normal game load. If the computer becomes less responsive, shorten the duration before increasing limits. A longer buffer is only helpful if the game and capture remain stable. Do a representative clip with motion; an idle menu may underestimate the data rate.
Check the scene and track you actually saved
The replay contains the OBS output while the buffer was running. If you were on a break scene, that is what the recent window may contain. If separate tracks are enabled, inspect them in an editor instead of assuming the first player’s selected stream is the whole file.
After the check works, try the shortcut with the game focused and confirm a second file appears. Keep an obvious pre-stream reminder to start the buffer, and stop it when you no longer need it. Save a sample that establishes the duration, filename pattern and audio routing before relying on the next unexpected highlight.
Check tracks and capture routes before repeating a lost highlight. Inspect a replay with apparently missing audio ↗
Sources & references
Based on official product documentation reviewed on 27 October 2026. Follow the recording checks below on your own setup. November 2026 addition: documentation-based diagnostic examples; no new hands-on hardware result or platform upload test is claimed.
- OBS — OBS Studio Overview Guide ↗Checked 2026-11-04
- OBS — Standard Recording Output Guide ↗Checked 2026-10-27
- OBS source — Hotkey and Replay Buffer UI messages ↗Checked 2026-11-04
- OBS source — NVENC and output error messages ↗Checked 2026-11-04
Spotted something out of date? Let Alex know.
How we put our guides together ↗