
Enable Automatic File Splitting in Advanced recording output, choose time or size, and verify two neighbouring files with your actual recording format.
Choose duration, size or a manual split and check the boundary before recording a long session.
In this guide
Before you start
- OBS Studio with standard Advanced recording output; file splitting has been available since OBS 28.
- A local recording folder with enough free space and an editor for boundary inspection.
Choose the reason to split
Splitting can make a long session easier to transfer, organize or hand to an editor. It does not reduce the total data you record. If storage fills during a three-hour session, creating six files instead of one does not create more space.
Choose a duration when you want predictable review chunks, such as one file per half hour. Choose a size when a transfer system has a strict file limit, allowing headroom below that limit. Actual duration at a chosen size varies with bitrate, audio and container overhead.
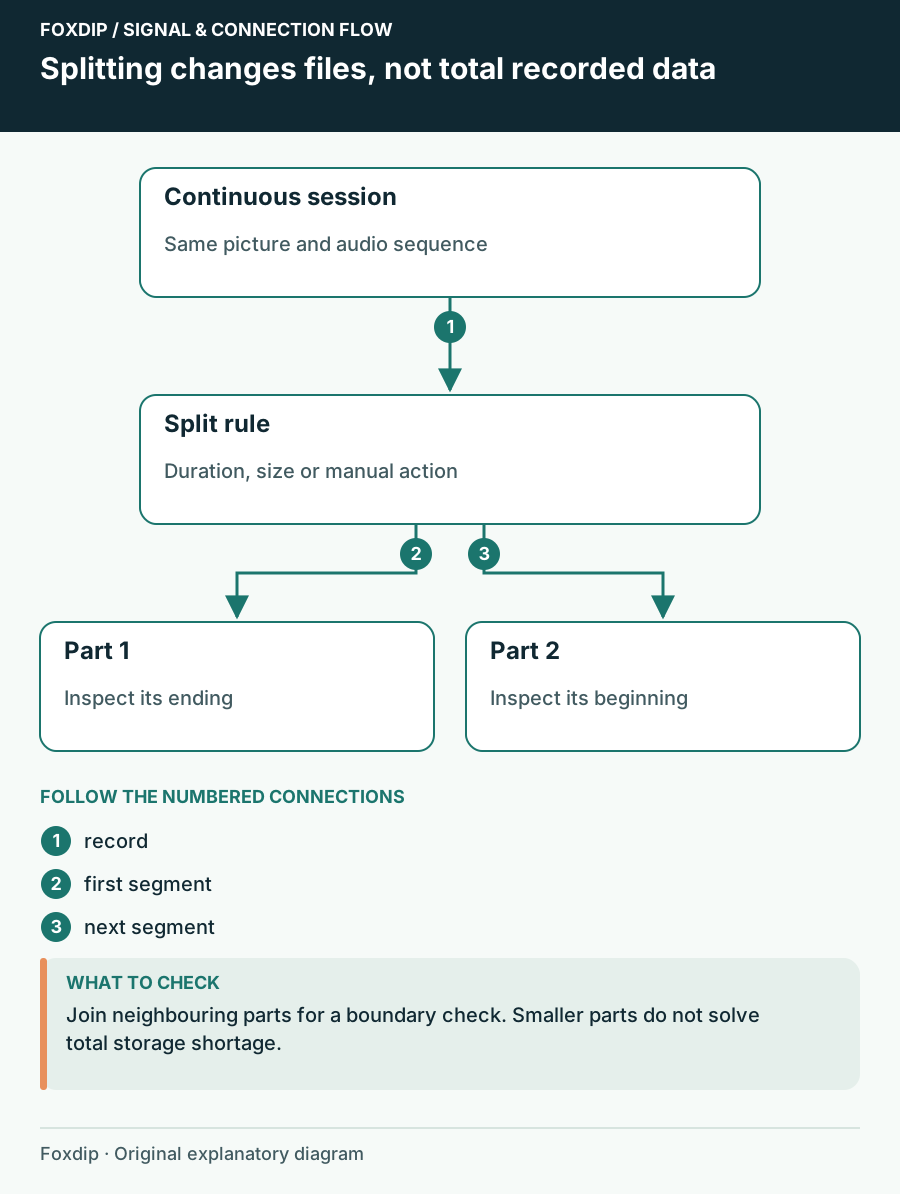
Original Foxdip schematic. Follow the labelled checks alongside the guide.
Keep a known-good recording configuration
Duplicate the current profile before changing output settings. Keep its encoder, resolution, frame rate and audio tracks. Choose the recording destination and make sure you can find it quickly. For this comparison, MKV is a reasonable resilient container if it already fits your workflow.
OBS release notes document splitting by file size, duration or manual hotkey. That feature history establishes availability, not proof that every current encoder/container combination behaves identically. Verify your chosen configuration before using it for an event you cannot repeat.
Set a short interval for the check
Enable the split control
In Settings → Output, use Advanced mode, standard Recording output and Automatic File Splitting. Choose a time interval short enough to observe several files, such as one minute.
Look for: The control is enabled with units you understand.
If you use Custom Output or cannot find the option, return to standard output for this workflow.
Record across two boundaries
Record several minutes while a clock or spoken count provides a recognizable sequence. Stop normally and open the recording folder.
Look for: Several sequential files exist and each opens.
If only one appears, confirm you changed the active profile and the splitting option actually used by that output.
Inspect a boundary
Place the end of one file and beginning of the next together in the editor. Check picture continuity and every intended audio track.
Look for: The segments can be used together without an unexplained missing passage.
If a gap or unreadable part appears, retain the original files and investigate before extending the session.
Set the production interval and naming
After the short comparison works, restore your real duration or size. Keep filenames that sort in session order and avoid reusing a fixed name that could collide. Make a folder for the session date or project so split parts do not mix with older material.
For a size-limited upload, measure a resulting file rather than assuming the setting equals an exact byte ceiling. Leave room for overhead and service conventions such as decimal versus binary units. If a service accepts only a small file, test one upload before recording hours of material.
Keep splits distinct from edits and backups
A split point is a file-management boundary. It is not automatically a good narrative cut, and it is not a second backup. Keep all parts until the assembled project has been checked. Do not delete the early segments merely because the last one plays.
If you want to mark highlights instead, a chapter marker may be enough. If you want a rolling window saved on demand, use Replay Buffer. Choose the feature that matches the job, then keep a short sample that proves the format, tracks and boundary behaviour on your system.
Sources & references
Based on official product documentation reviewed on 27 October 2026. Follow the recording checks below on your own setup.
- OBS — OBS Studio 28 Release Notes ↗Checked 2026-10-27
- OBS — Standard Recording Output Guide ↗Checked 2026-10-27
Spotted something out of date? Let Alex know.
How we put our guides together ↗