
Export the same short moment two ways and compare both the picture and the file size. Keep the source, frame rate and display size fixed so you know what changed.
Compare two outputs from the same source and choose a delivery copy with a visible reason.
In this guide
Before you start
- A copy of the original recording; keep your only source file unchanged.
Compare the same eight seconds
The practice bundle includes CRF18 and CRF40 H.264 versions made from the same mixed source. The dimensions, frame rate, duration and copied audio stream stay the same. The video quality setting changes.
These are deliberately different settings to make an exercise, not Foxdip’s recommended presets for every clip. Your footage, encoder, upload destination and available time can change the useful choice.
| Exercise output | Actual file size | Picture and duration |
|---|---|---|
| CRF18 | 277,000 bytes | 1280 × 720 · 30 fps · 8 seconds |
| CRF40 | 174,379 bytes | 1280 × 720 · 30 fps · 8 seconds |
Compare at the same size as the other output. Open the CRF18 practice export ↗
Watch the motion as well as the still. Open the CRF40 practice export ↗
Find the detail worth preserving
Open both files at the same size. Watch the marker cross the textured field, then pause at three seconds. Inspect the clock digits, the grid and the edge of the marker. Those are concrete places to compare; a different recording may make faces, foliage or small HUD text more important.
The figures below are actual decoded output frames. They help locate the same moment, but still images cannot show all motion artefacts. Watch the whole clip before choosing.
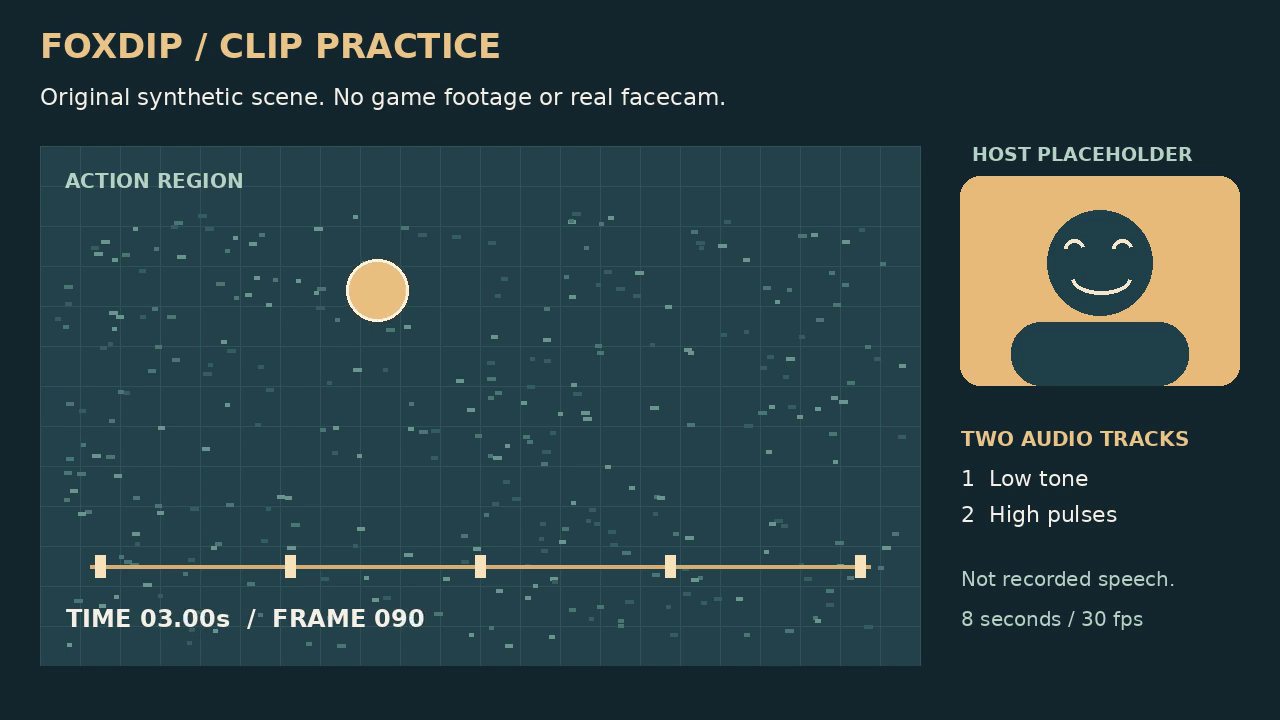
The CRF18 output at 3 seconds. Compare at the same display size and check the moving marker as well as this still.
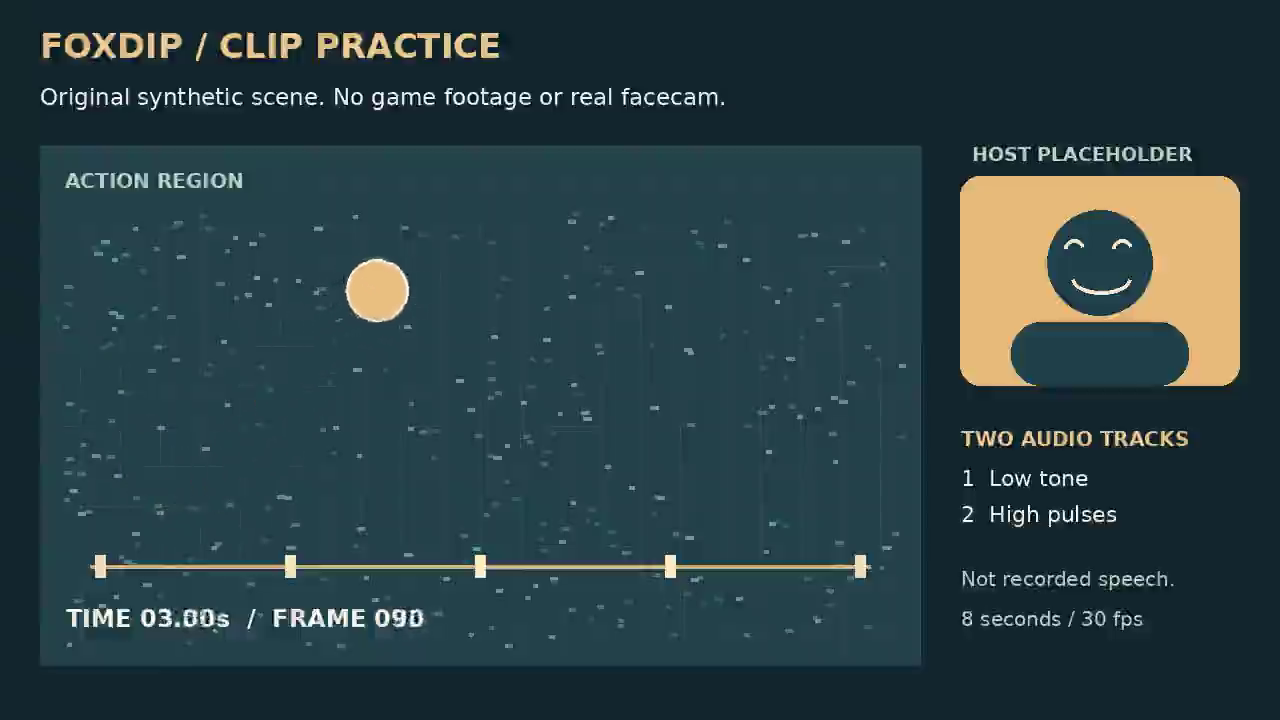
The CRF40 output at 3 seconds. These two small files are an exercise, not a universal quality ranking.
Change one setting in a new export
Use the two commands in the recipe file if you want to reproduce this comparison. They use the same source and different output names. There is no need to overwrite the original to test an export.
If you change codec or encoder family, do not treat one quality number as an equivalent setting in the other encoder. Establish a fresh comparison using the same short section. Note how long each export takes only if you actually measure it on your machine.
The listed commands were used for these exercise files. Open the two export commands ↗
Finish with an upload-path check
Check the destination’s current requirements and file-size limits. A local file that looks good may be re-encoded after upload, so preview the processed result when the service provides one.
If you must reduce the file further, choose the sacrifice deliberately: duration, dimensions, frame rate, codec or visible compression. A smaller file that loses the information the viewer needs is not a successful delivery.
Keep one review copy and one clearly named delivery copy. Once the result is accepted, preserve the original and the settings that produced the chosen version.
Choose the framing before fine-tuning a final encode. Compare portrait compositions ↗
Use the existing guide when the task is a full recording rather than this short export exercise. Reduce a larger recording with HandBrake ↗
Sources & references
The downloadable exercise and its exports were generated and decoded with FFmpeg 6.1.1. Software and destination guidance comes from the linked primary documentation; this does not imply a live account upload or a hands-on test of a desktop editor.
- FFmpeg — stream selection and encoding ↗Checked 2026-10-27
- FFprobe — inspect media streams ↗Checked 2026-10-27
Spotted something out of date? Let Alex know.
How we put our guides together ↗