
Choose a frame that explains the moment at a glance. Extract it from the actual video, then check it at the small size where someone will first see it.
Save a frame from the actual clip, check it small and keep its source time position.
In this guide
Before you start
- A copy of the original recording; keep your only source file unchanged.
Pause where the point is visible
Open the practice mix and pause near three seconds. The marker is clear of the edges and the scene labels still explain the exercise. A different clip may need a different moment: the decisive action, the result or a readable reaction.
Do not choose solely from the biggest movement or the widest expression. Check whether the important object is sharp and whether a tiny preview still tells you what happened.
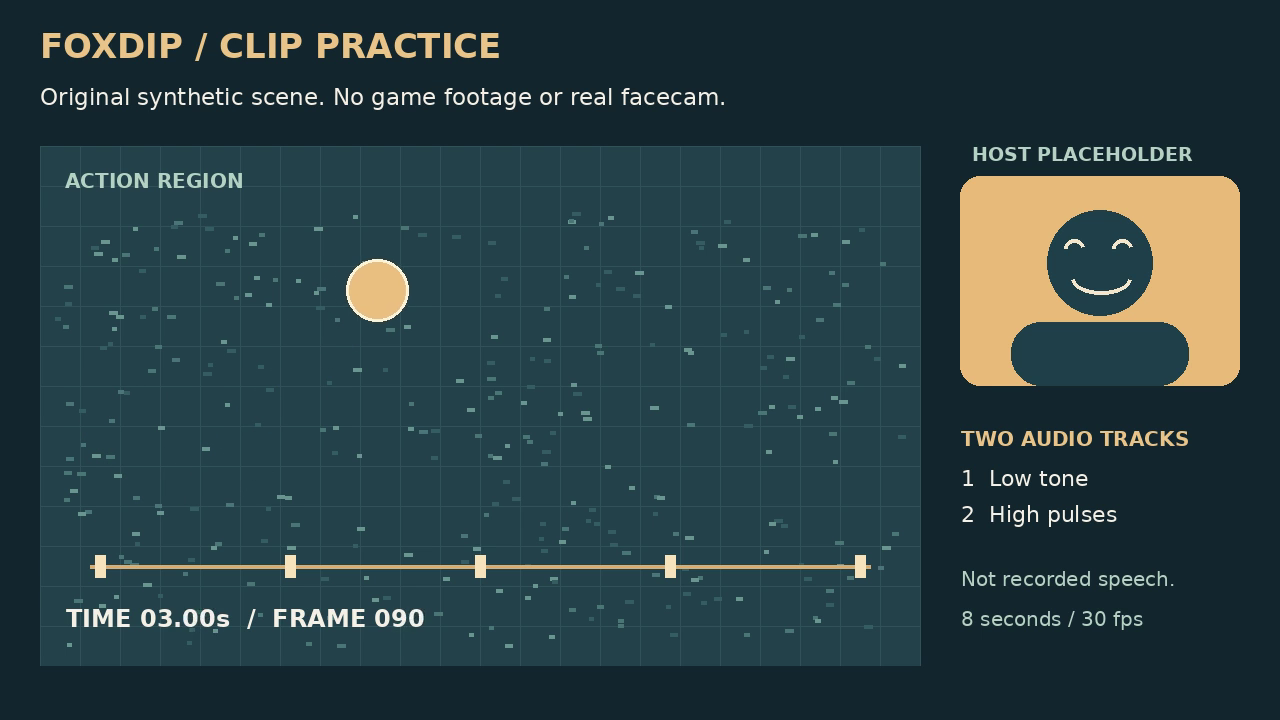
The actual exercise at 3 seconds. It is a synthetic scene, not game footage, a real facecam or an editor screenshot.
Pick another frame if this one does not explain the story you want. Download the source clip ↗
Save an image without touching the recording
The included recipe extracts the first decoded frame at or after three seconds into a new PNG. The practice bundle also contains that result as thumbnail-frame-3s.png.
If you use an editor’s frame-export command instead, export the source or timeline frame deliberately. Avoid a screenshot that includes playback controls, an unrelated browser tab or a black pause overlay. Keep the original recording available.
Use a new output name
Run the thumbnail recipe from the practice command file in a working copy of the exercise folder.
Look for: A PNG appears while the MP4 remains unchanged.
Open the image on its own
Check its dimensions, edges and any on-screen text.
Look for: It contains the frame, not the editor window or its controls.
This is the result of the supplied three-second extraction. Open the actual extracted PNG ↗
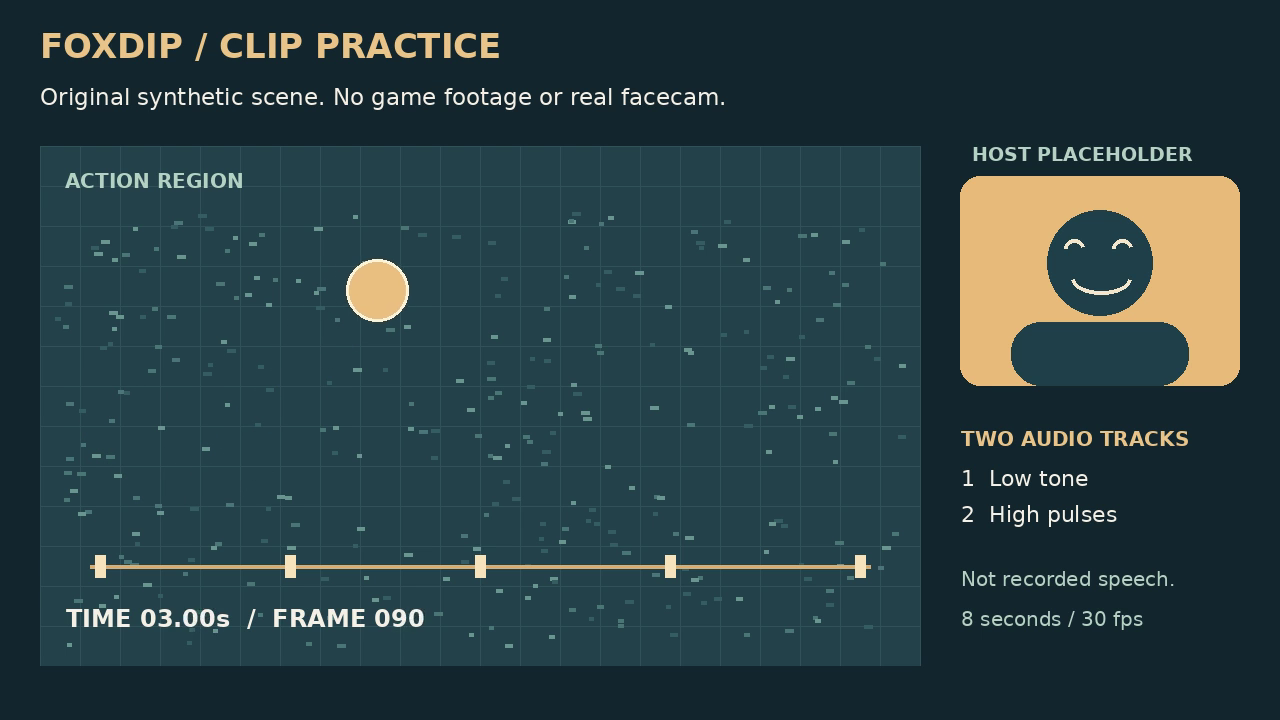
Use the matching source filename for this exercise. Open the extraction command ↗
Judge it before adding more words
Use the thumbnail preview tool to display the image at several sizes. The full practice scene contains several labels; at a very small size you may decide that only the marker and broad scene structure matter. That is a decision about hierarchy, not a predicted click-through rate.
If you add a short title later, make it explain something the picture cannot. Keep the wording separate in your working file so you can revise it. Make sure it still describes what the clip actually contains.
Bring the extracted PNG and compare the actual text and contrast. Preview the thumbnail at small sizes ↗
Keep the frame and the decision
Save the source filename, time position and edited image version together. A name such as clip-title-frame-03s-v1.png is easier to review than a folder full of image-final-final.png.
When the video changes, revisit the thumbnail. A removed moment should not remain the main promise of the clip. Then check the destination’s current image dimensions and upload rules before publishing.
Sources & references
The downloadable exercise and its exports were generated and decoded with FFmpeg 6.1.1. Software and destination guidance comes from the linked primary documentation; this does not imply a live account upload or a hands-on test of a desktop editor.
- FFmpeg — stream selection and encoding ↗Checked 2026-10-27
- FFprobe — inspect media streams ↗Checked 2026-10-27
Spotted something out of date? Let Alex know.
How we put our guides together ↗