
Start with About, Schedule and one place to find your community. Add the text, save each panel, then switch editing off and try every link as a visitor.
Your panels answer a new viewer’s first questions and their links open the right pages.
In this guide
Before you start
- A Twitch account that can edit your channel.
- A desktop browser and any panel artwork you have permission to use.
- Your real schedule, rules and destination links.
Decide what your first three panels should answer
What do you stream? When can someone catch you again? Where should they go to join in? About, Schedule and Community panels are a good starting point. Add equipment, support or rules when you have something specific to put there and can keep it current. Empty headings leave a new visitor doing the guesswork.
Draft the words before choosing the artwork. Your About text can name the games you play and the language of the stream. A schedule needs a time zone, even if the hours change each week. A community panel needs a destination people can recognise. The page should still make sense to someone who skips over the decorative headings.
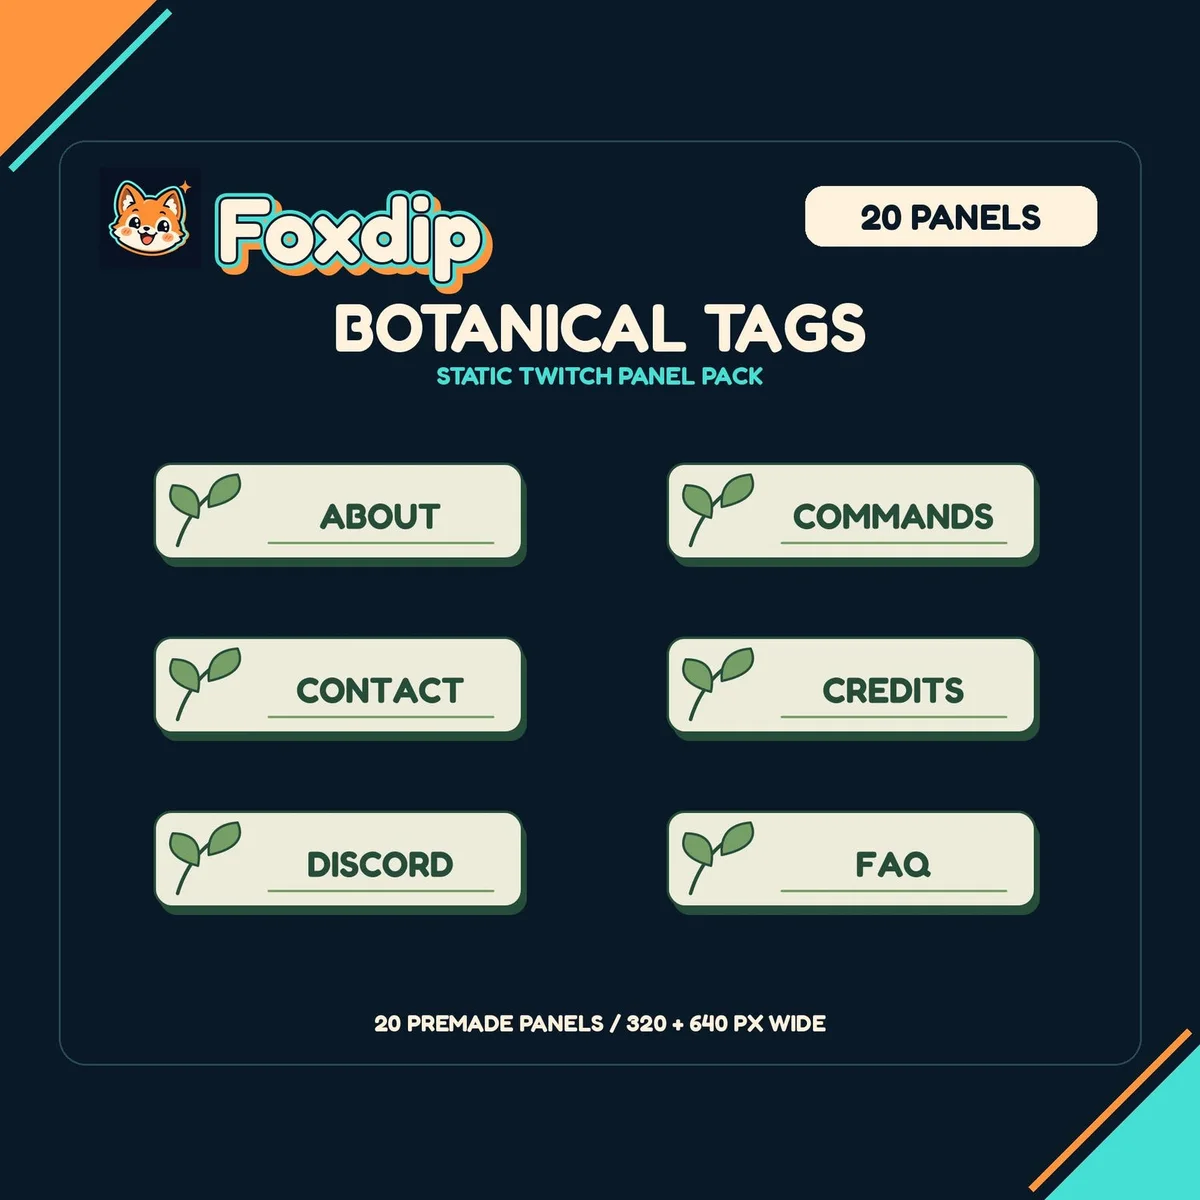
The actual Foxdip Botanical Tags panel-pack preview. Choose artwork for the sections your visitors need; the image shows the product, not Twitch’s editor.
Open your channel’s panel editor
Sign in on a desktop browser and open your own channel page. Twitch’s help places the panels on the channel page while live and in About while offline. Turn on Edit Panels and add a text or image panel. If you are looking at another creator’s page, you will need to return to your own first.
You can add a title, an image, a link for that image and a description. Fill the fields that serve your panel. For an image, use the requirements in the current upload form rather than resizing around an old template. If the controls have moved since this guide was written, the Twitch help link below is the place to check.
Choose Image, local media or scene import to match the file you have. Add the files in Streamlabs Desktop ↗
Let the description carry the information
A heading such as Schedule tells visitors what they will find. Put the actual hours in the description: “Usually Tuesday and Thursday evenings, Eastern Time. Changes appear in the channel schedule.” Replace that example with your own routine. An irregular schedule is fine; just tell people where you announce the next stream.
Twitch supports Markdown links in panel descriptions. Write “Read the community rules” or “Join the Discord” so someone knows what will open. If an image and its description both invite the same action, make them lead to the same page. When the destinations differ, give each a label that explains why.
Try the label against its real background before you commit to the palette. Check the text colours ↗
Save it, switch editing off and click through
Use Submit to save each panel, then turn Edit Panels off. Read the page from the visitor’s side. Is the information there, can you tell what each heading means, and does every link open the intended destination? The editor preview alone will not catch an old invitation or a leftover placeholder.
Check the whole URL, including the part after the domain. A support link should identify you, and a community invitation should still work. Try a narrower browser window and, if you have one handy, your phone. Long headings and tiny image lettering are easier to catch when the panel is no longer filling your screen.
Keep the next update easy
Keep the original images and a copy of your descriptions in one folder. When your schedule, public name, store or community invitation changes, you can update the right panel without hunting through several old exports. A simple set with accurate information is ready to use even while you are still choosing a visual style.
If you use a matching graphics pack, pick the panels you need and read the licence before using or modifying the art. You can add more later. For now, finish with this short check and make sure the public page reflects the version you meant to save.
- Your schedule includes a time zone.
- The description contains the important information.
- Image links and written links open the expected destinations.
- Placeholder copy, expired invitations and private links are gone.
- Editing is off, and you have reviewed the saved page.
Make each panel work without its decorative image
Write a short descriptive title and a useful destination label in the panel description. Then read the panel while ignoring the image. A visitor should still know whether the destination is your schedule, community rules or contact page. This also helps when artwork is hard to read at its displayed size.
Twitch supports an image link and Markdown links in the description. Check both after submitting, because correcting one does not establish that the other reaches the same destination. The current image guidance is under 1 MB and no larger than 320 × 600 px before automatic resizing.
| Observation | Next change | Expected result |
|---|---|---|
| Image opens the right site but description opens an old page | Edit the description destination separately | Both routes reach the intended current page |
| A decorative heading is the only explanation | Add a plain title or descriptive text | The panel’s purpose remains clear without the artwork |
| A tall image pushes the useful links far down | Shorten the artwork and keep the action in the description | Visitors reach the useful action sooner |
Keep panel lettering readable when it carries useful information. Make Overlay Text Easier to Read: A Colour Check ↗
Still stuck?
There is no Edit Panels control.
Confirm you are signed in to your own channel in a desktop browser, then look in the About section. Follow the current Twitch help if your interface differs.
An uploaded panel looks like decoration without useful information.
Put the schedule, purpose or destination in the written description and remove placeholder copy.
A link opens the wrong page.
Check both the image-link field and any Markdown link, then save again and retest outside editing mode.
Sources & references
Based on Twitch’s panel-editing guidance and W3C advice on descriptive links; use your current upload form for image limits. November 2026 addition: documentation-based diagnostic examples; no new hands-on hardware result or platform upload test is claimed.
- Twitch — How to Edit Info Panels ↗Checked 2026-11-04
- W3C WAI — Link Purpose (In Context) ↗Checked 2026-10-18
Spotted something out of date? Let Alex know.
How we put our guides together ↗