
Choose the game or activity you are actually showing, then use tags for details the category does not already explain.
Set an accurate activity category and a few informative tags, then update them when the broadcast changes.
In this guide
Before you start
- The game or activity you will actually show.
- Access to Stream Manager and Edit Stream Info.
Choose the activity viewers will arrive to
Use the category that describes the current broadcast, even if a different category looks easier to rank in. A viewer clicking a game directory expects that game. If you change from gameplay to a long conversation or another activity, review the category again instead of leaving the first choice attached to the whole evening.
Tags add context within that activity. They can describe the language, format, accessibility, play style or community you offer. They don’t guarantee traffic, and filling every slot with a broad word is not evidence of a better discovery strategy.
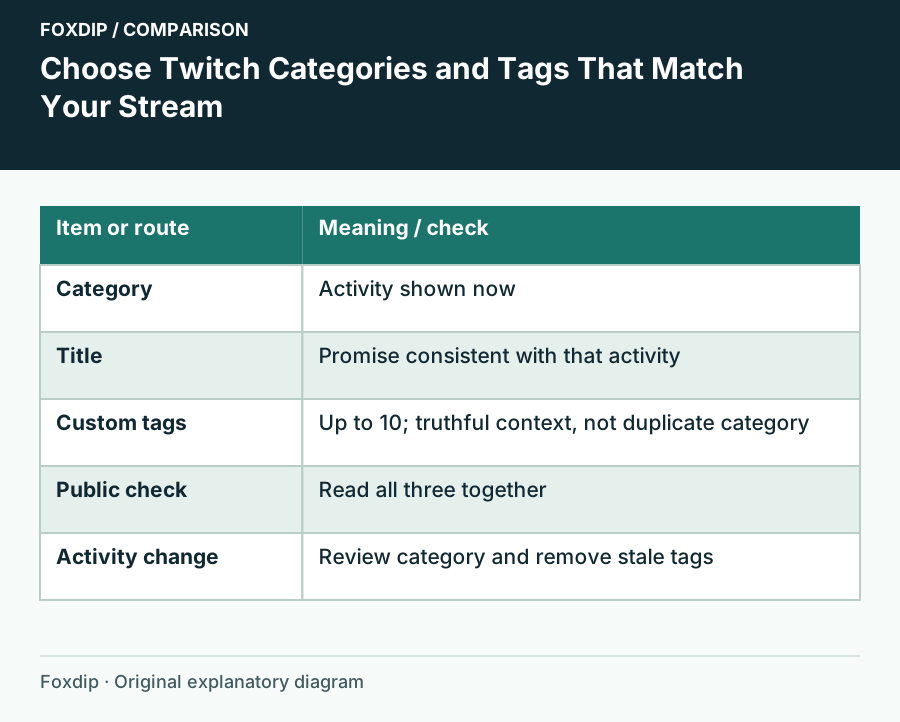
Original Foxdip schematic. Follow the labelled checks alongside the guide.
Make the change in Stream Manager
Open Creator Dashboard → Stream Manager → Edit Stream Info. Search for the exact game or activity and check the selected result before saving. Similar game names, sequels and editions deserve a second look. Keep the title consistent with the selection so a viewer doesn’t get two different promises.
Choose the category
Select the activity you are doing now, checking the search result rather than accepting the first similar title.
Look for: The category matches the visible broadcast.
Add a small tag set
Add a few truthful descriptors under the custom tag controls. Twitch allows up to ten, with no spaces and up to 25 characters per tag.
Look for: The tags explain specific aspects of this session.
Save and inspect
Save Stream Info, then open your public channel and read the title, category and tags together.
Look for: The public description tells one consistent story.
Give every tag a reason to be there
For a calm first playthrough, “FirstPlaythrough” and “NoBackseating” can say more than repeating the game’s name. For a tutorial session, a truthful educational descriptor may help viewers understand that you are explaining decisions. Choose only descriptions that fit your content and the current Twitch rules.
Write a private one-line definition for each tag you choose. If you can’t explain what a viewer will get from it, leave it out. Don’t borrow an identity or accessibility claim just because another channel uses it. Tags should set expectations you can meet, including any limitations worth explaining in your channel information.
Check how a viewer would search
Twitch says custom tags are not automatically translated. A word in one language is not automatically a route to viewers searching its translation. Use your audience’s language where it makes sense, and check the stream’s language setting separately. A bilingual tag list won’t make a monolingual broadcast bilingual.
Click one of your public tags and inspect the resulting directory. This shows the wording a viewer is following; it doesn’t prove the tag caused future growth. Avoid claiming an SEO win from one quiet or busy session. Content, schedule and returning viewers can change at the same time.
Review the information at each scene change of activity
Add “category and tags” to your pre-stream note beside title and microphone checks. If you switch games, pause long enough to update the public description. If you move into a different format, remove tags that no longer describe it.
Keep a short record of the tag set and what you actually streamed. If Twitch shows sufficient discovery analytics later, compare it with that record over comparable sessions. Use the evidence to refine your description, while keeping accuracy as the first requirement.
Sources & references
Based on the official documentation linked beside the relevant sections. Follow the checks on your own setup; no hardware measurements or account tests are claimed.
- Twitch — About Twitch Categories ↗Checked 2026-10-27
Spotted something out of date? Let Alex know.
How we put our guides together ↗