
Use the operating system’s Identify displays control, then select the intended display in the OBS capture source. Confirm it with a harmless visible marker before broadcasting.
Match physical screens to the source selector and retest after docks or cables change.
In this guide
Before you start
- Two or more displays or a dock whose screen order recently changed.
- No private windows visible on the display you will use for a check.
Give each physical screen a recognizable marker
Open a blank text document with MAIN GAME on one screen and CHAT SCREEN on the other. Use content you are comfortable recording. If OBS shows the wrong marker, you have a target-selection issue rather than a black-screen capture failure.
Display numbers can change after a dock reconnect, driver change or cable move. The screen to your left is not necessarily Display 1. Keep physical location, current operating-system number and OBS source name as separate descriptions until you match them.
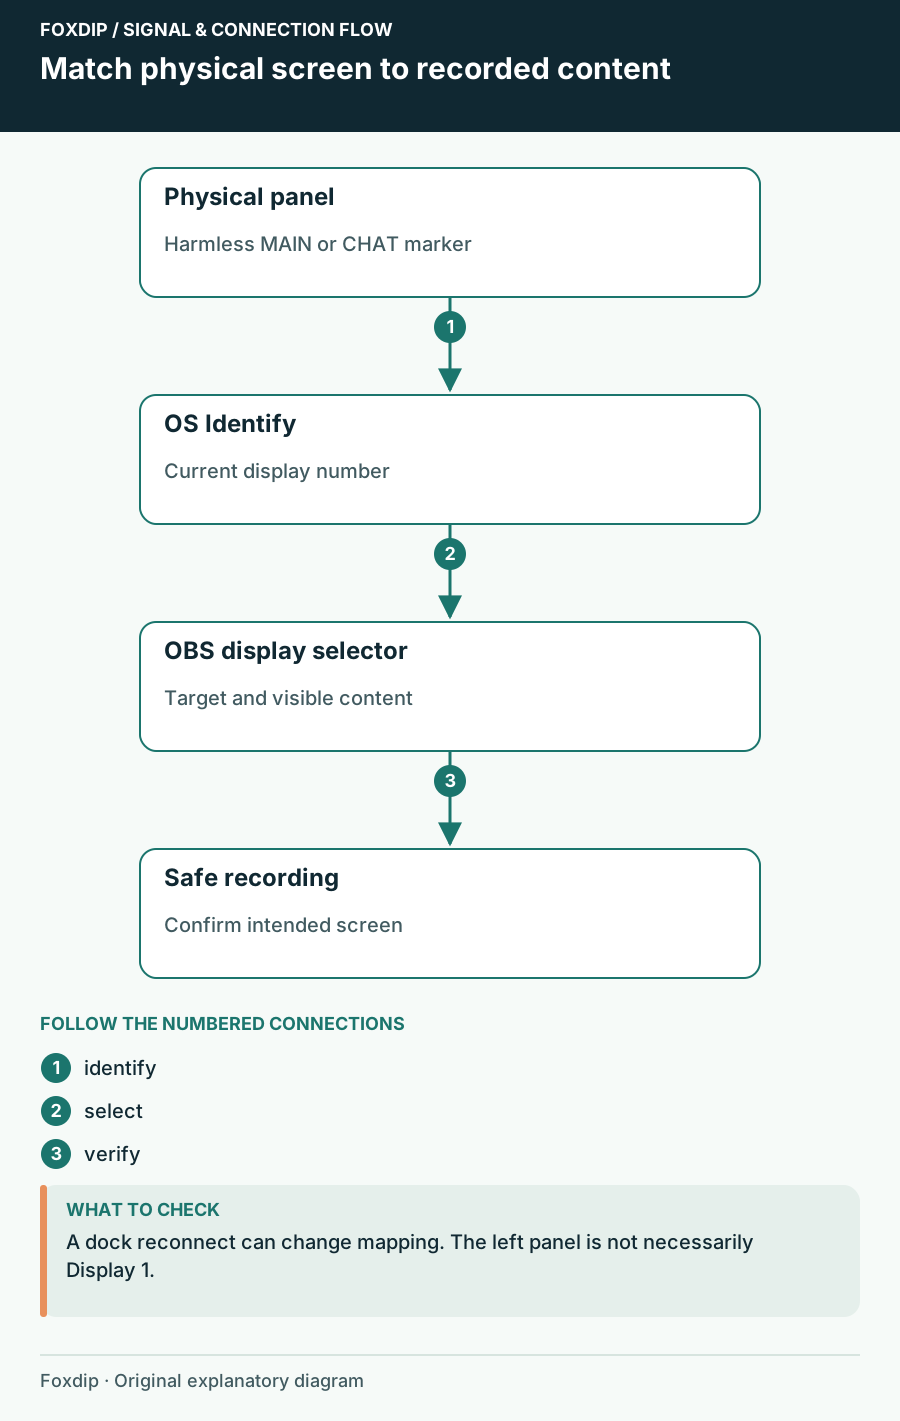
Original Foxdip schematic. Follow the labelled checks alongside the guide.
Identify the screens in Windows
In Windows Settings → System → Display, choose Identify. Note the number appearing on each physical panel. If a panel is missing entirely, use the display detection and connection checks before changing OBS. A source cannot select a desktop the operating system has not made available.
Then open the existing Display Capture source’s properties in OBS and choose the display that contains the marker you intend to capture. Compare by visible content as well as the listed name or coordinates. Keep the old choice in your notes until the check passes.
Use the source type that matches your goal
| What viewers need | Source to consider | What to verify |
|---|---|---|
| Entire Windows desktop | Display Capture | Correct panel and no private windows |
| One running game on Windows | Game Capture | Specific game target or fullscreen mode |
| One application window | Window Capture | Correct application and title match |
| Modern macOS screen/window/app | macOS Screen Capture | Method and selected display/window |
Keep the next reconnect predictable
Name the source for its purpose, such as Game monitor — verify after dock, rather than encoding a number that may move. After reconnecting a laptop, check its source properties before opening private chat or account pages. A familiar scene name does not guarantee the display mapping survived.
If you only need the game, a more specific capture source can reduce accidental desktop exposure and avoid a dependence on panel ordering. If the correct display is selected but the source is black, use the capture troubleshooting guide; target identification and capture compatibility are different branches.
Continue here after confirming the intended display exists and is selected. Troubleshoot a correctly selected but black capture ↗
Sources & references
Based on official product documentation reviewed on 27 October 2026. Follow the recording checks below on your own setup.
- Microsoft — Use multiple monitors in Windows ↗Checked 2026-10-27
- OBS — Display Capture Sources ↗Checked 2026-10-27
- OBS — Game Capture Source ↗Checked 2026-10-27
- OBS — Sources Guide ↗Checked 2026-10-27
Spotted something out of date? Let Alex know.
How we put our guides together ↗