
A few good scenes.
A place to start.
Put a matching set around your stream without spending your first evening choosing twenty different things. Quiet Signal gives you static screens, a transparent camera frame and six panel headings.
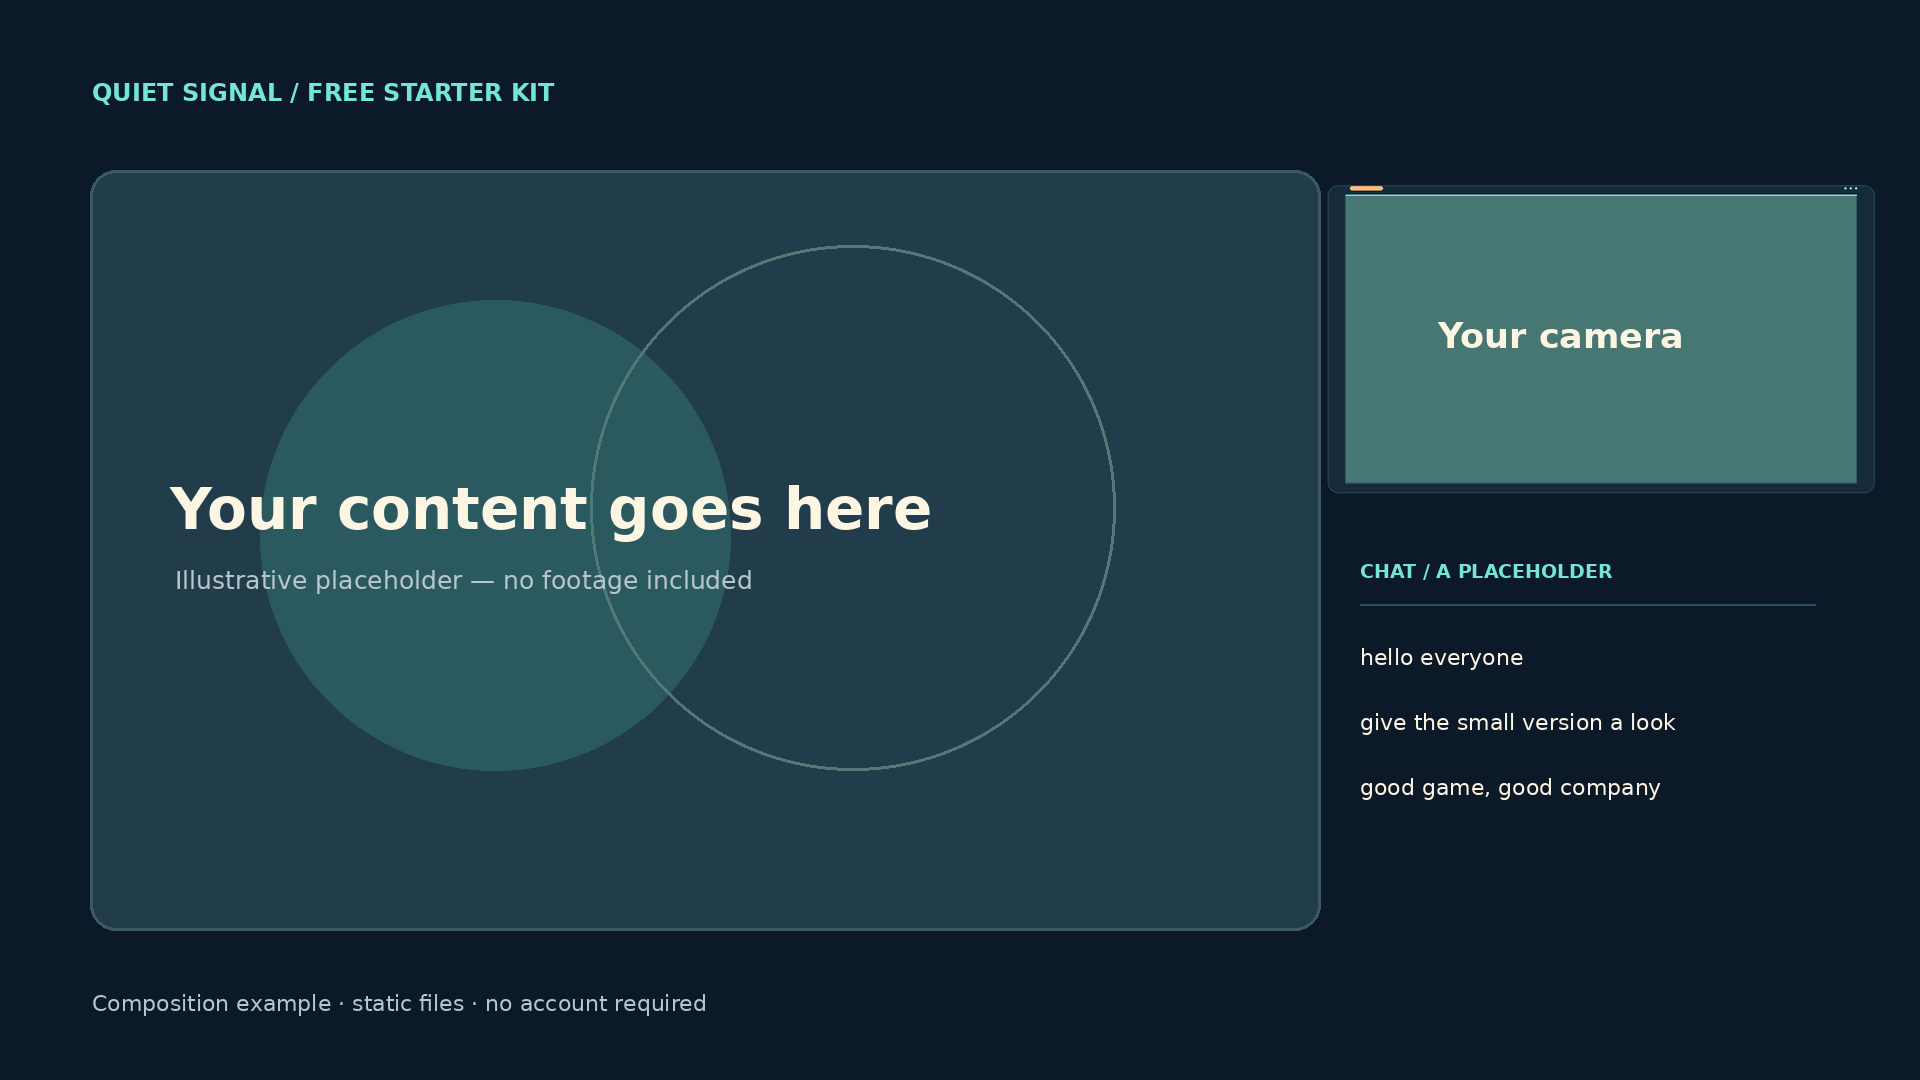
The composition above is an example, not an OBS screenshot. The content, camera and chat are labelled placeholders. You supply those sources; the kit provides the screens, frame and panels below.
Small kit.
Matching pieces.
Stream screens
Starting Soon, Be Right Back, Stream Ending and Offline. Each is a static 1920 × 1080 PNG with an editable SVG source.
Camera frame
A 1280 × 720 transparent PNG with a 1152 × 648 clear opening. The opening and the full canvas are both 16:9.
Panel headings
About, Schedule, Rules, Socials, Support and Discord. Each comes at 320 × 100 and 640 × 200, plus an editable SVG.
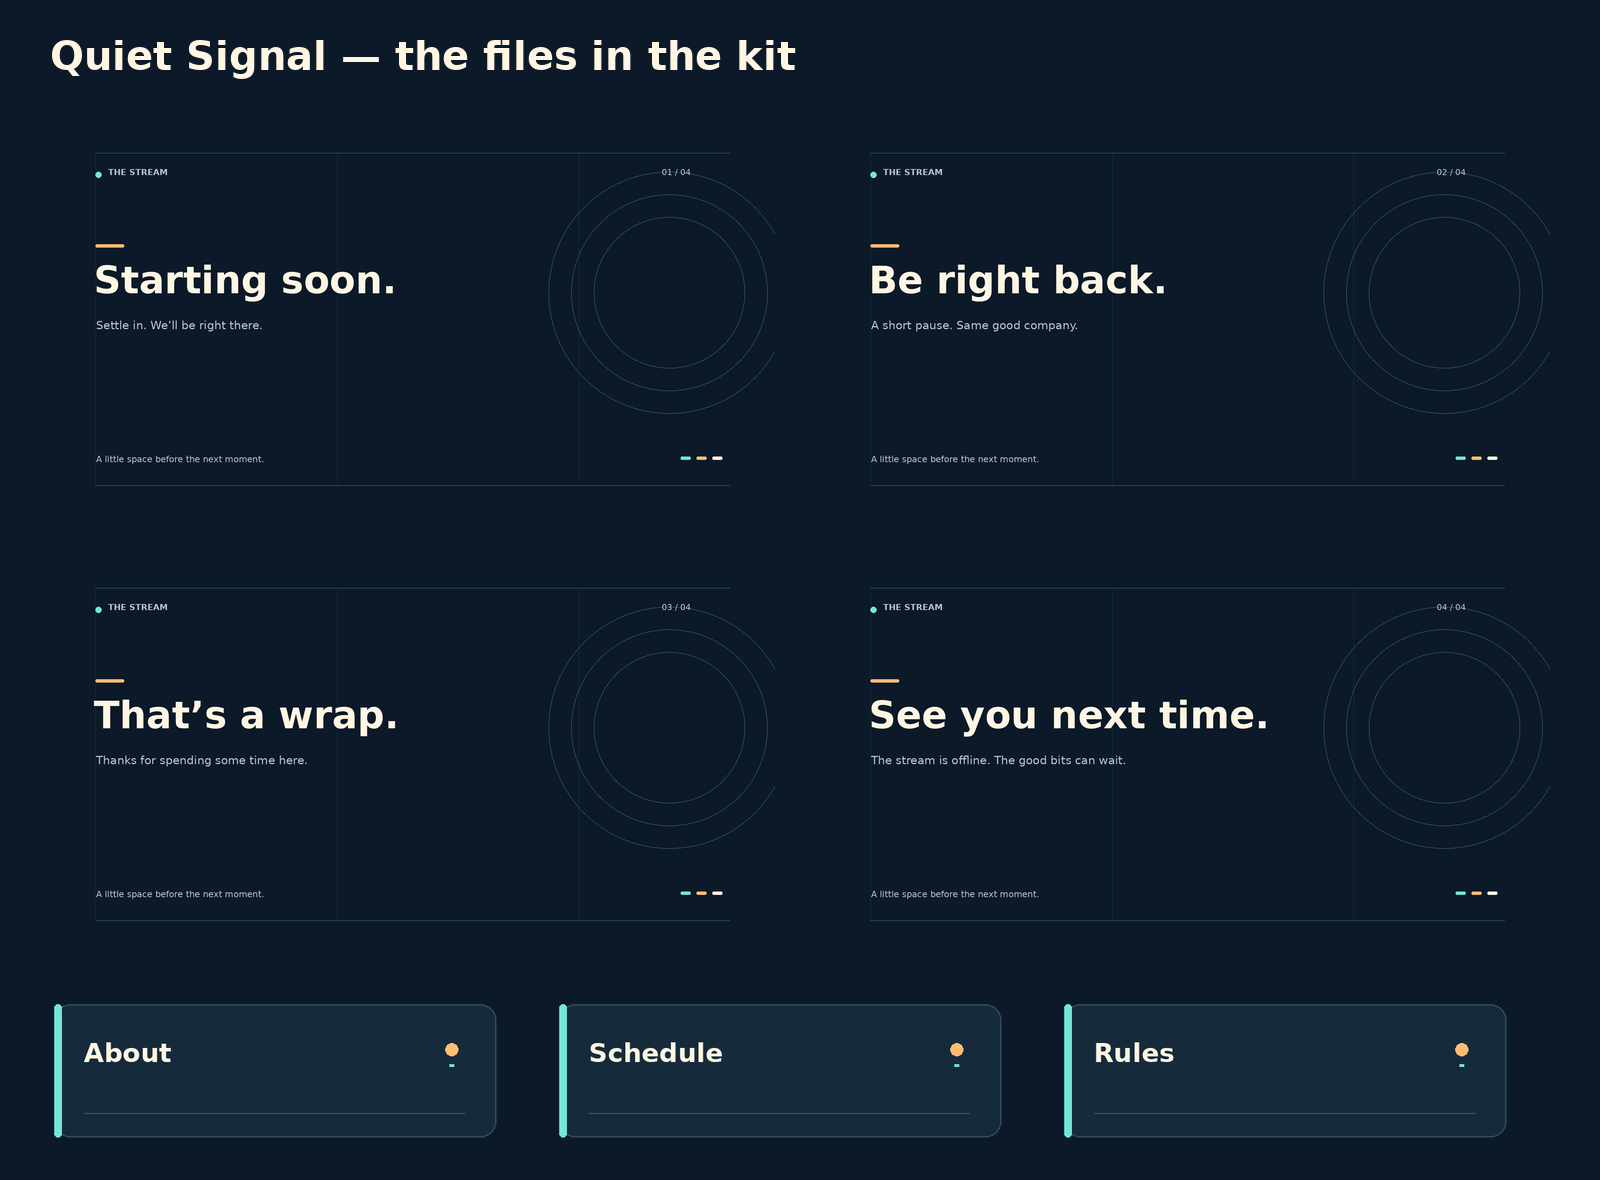
The count includes different formats and sizes of the same designs. You get four screen designs, one frame design and six panel headings. There is no alert widget, countdown, scene import, music, game footage or camera content in the download.
Start with one.
Then add the rest.
Use a screen as an image.
- Extract the ZIP into a folder you plan to keep. Open
README.txtandLICENSE.txt. - In OBS, add an Image source and choose the PNG you want from
screens/. - Fit the 1920 × 1080 image to your canvas. For a different output shape, decide whether to keep the whole image or crop it.
- Save a short local recording. Check that the wording is readable at your normal output size before building more scenes.
These are static files. An Image source doesn’t need a loop setting.
More about adding stream graphics ↗Fit the camera inside the opening.
- Add
frame/webcam-frame-1280.pngas an Image source above your camera. - Keep the frame proportional. In the original 1280 × 720 canvas, its opening starts at x 64, y 36 and measures 1152 × 648.
- Position a 16:9 camera image inside that opening. The frame is larger than the hole, so fitting both sources to the same outer box won’t line them up.
- Check all four edges in a recording. Crop any camera content that spills outside the opening.
At half the frame’s original size, the opening starts at x 32, y 18 and measures 576 × 324 relative to the frame’s top-left corner.
See how source order works ↗Give the headings something to say.
Use *-320.png when your platform asks for a 320 px-wide panel. Add your own description and link in the platform editor. A Discord heading doesn’t add an invite by itself.
Start with About, Schedule and Rules. Add more when you have information worth putting under them. Check current platform requirements before uploading.
Write the panel text first ↗Edit the SVG when you need a change.
The SVGs contain editable text and geometric shapes. Open one in an SVG-capable editor, change the wording or colours for your own channel, then export a PNG.
Your editor may substitute a font. Check line breaks and spacing after editing. The ready-to-use PNGs keep the appearance shown here.
Editable source or finished image? ↗Free to use.
A few clear terms.
You can use Quiet Signal on your own creator channels, including monetized streams and videos. You can resize it and edit the SVGs for those uses. Attribution is welcome, not required.
The kit is non-exclusive. Don’t resell or redistribute the downloadable files or modified asset packs, and don’t claim exclusive ownership of the original design. The separate GG sample has its own licence.
Keep the setup.
Change the style.
You don’t need to upgrade to keep using this kit. If you want more scenes, alert artwork or another theme, compare the contents of the current packs before choosing.
Source reference.
OBS documents Image sources and their alpha-channel support. The kit’s dimensions and composition example come from the original files supplied here.
OBS Image Sources documentation ↗