
Wave Link 3 accepts third-party microphones your computer recognizes. Check the OS requirements and your intended input route before buying Elgato hardware.
Check computer recognition, operating-system requirements and the difference between mixing support and hardware-specific controls.
In this guide
Before you start
- Windows 11 or macOS 15+ supported by Wave Link 3.
- A computer-recognized microphone or interface input.
Try the microphone you already own
You do not need an Elgato microphone just to use Wave Link 3’s mixing and routing. Elgato’s current compatibility article includes USB mics, microphones through an XLR interface, headsets and capture-card inputs recognized by the computer. That makes your existing device the sensible first compatibility check.
This does not turn every microphone into a Wave device. Hardware-specific settings, onboard processing and physical monitoring controls depend on the actual hardware. Keep the distinction between “I can route this input” and “I can use every device feature shown in a Wave microphone tutorial.”
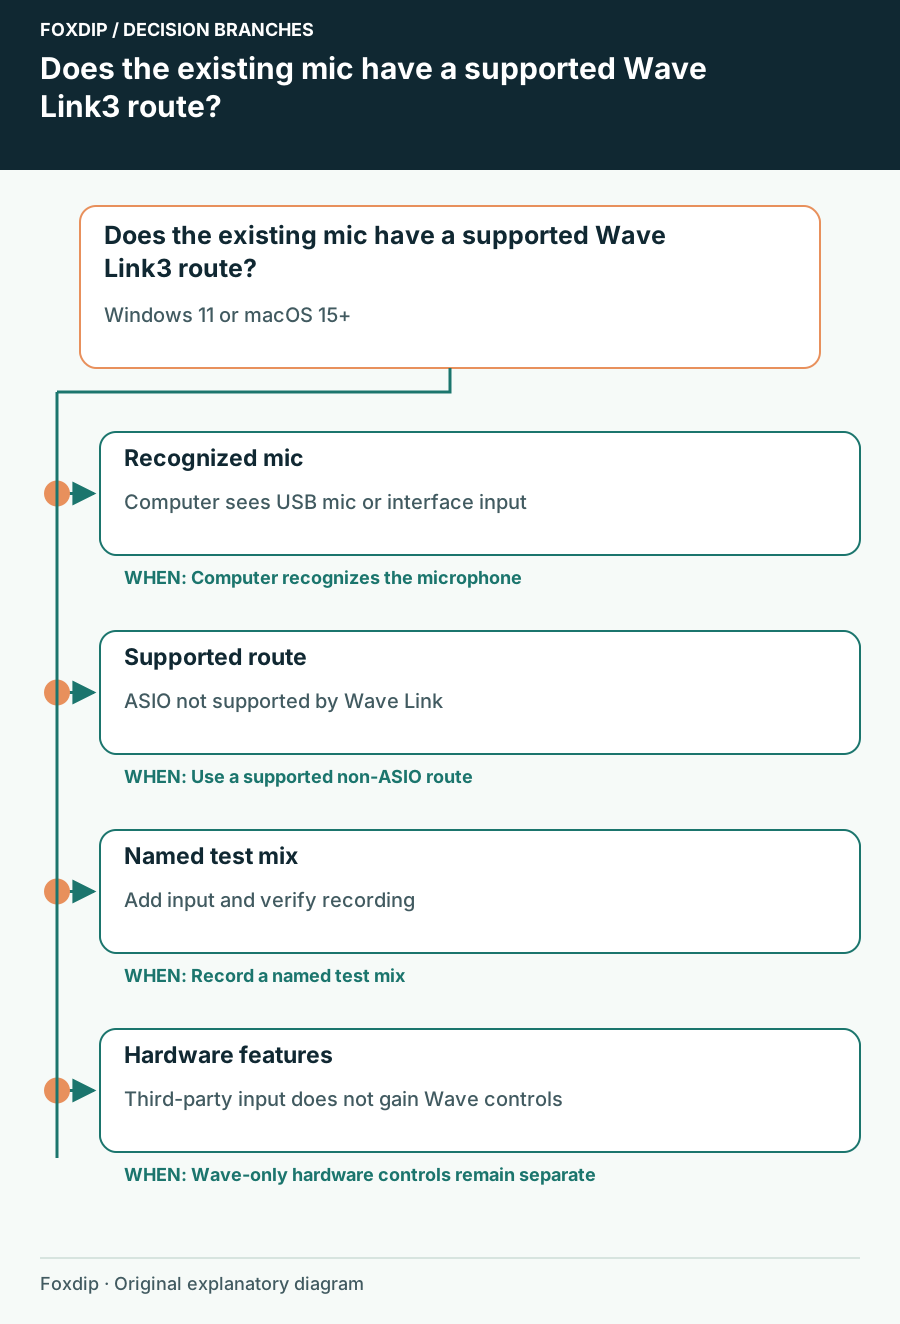
Original Foxdip schematic. Follow the labelled checks alongside the guide.
Check the computer and input format
Elgato lists Windows 11 or macOS 15 and later for Wave Link 3. Its overview lists a 48 kHz audio engine and no ASIO support. A microphone working in another application on an older operating system does not establish that the current Wave Link application is supported there.
For an XLR mic, the computer sees the interface’s input. Check that the interface exposes a usable system audio input rather than assuming an ASIO-only route will appear. For a USB mic, verify it in the operating system’s input list before installing extra software to solve a device that is not connected properly.
Add one input and one destination
Connect the mic with a working data cable and confirm normal speech in a basic recording app. Then open Wave Link and add the intended hardware input through Create Channel. Choose the device by its full name; a webcam and a USB mic can both be available at once.
Prove the physical input
Record one short phrase directly from the intended microphone or interface input.
Look for: The computer receives usable voice before Wave Link routing.
Add the input channel
Select that recognized device in Wave Link and speak again.
Look for: Its input meter responds to the same phrase.
Include it in a test mix
Create or select one named mix and include the microphone channel.
Look for: The mix has a signal you can select in the receiving app.
Keep hardware gain and software effects separate
Use the microphone or interface’s own gain control where appropriate. Do not search for a Wave-only gain lock, LED orientation or monitoring knob in a third-party device panel. Apply supported software effects to the channel after the basic input works.
Windows effects use the documented VST3 workflow; macOS uses Audio Units. Check the effect’s format and platform before assuming a downloaded preset or plugin will work on both computers. A compatible audio input and a compatible effect are two separate checks.
Decide whether new hardware solves a real gap
Select the test mix in your recording or streaming app and play back a short file. Compare the result with the direct-microphone reference. If you can route the voice and create the independent mix you need, hardware replacement is not required for that task.
Consider different hardware only when you can name the missing feature: a suitable headphone monitor, another physical input, a better mounting arrangement or a specific device integration. Keep a note of what worked and what did not. A software tutorial showing a different brand of mic is not by itself a reason to replace yours.
Sources & references
Based on the official documentation linked beside the relevant sections. Follow the checks on your own setup; no hardware measurements or account tests are claimed.
- Elgato — Use Wave Link without a Wave microphone ↗Checked 2026-10-27
- Elgato — Wave Link 3.0 Software Overview ↗Checked 2026-10-27
- Elgato — Current software downloads ↗Checked 2026-10-27
- Elgato — Wave Link3.3 Windows Release Notes ↗Checked 2026-10-27
Spotted something out of date? Let Alex know.
How we put our guides together ↗