
Put a bright colour underneath the overlay before trying to remove its black background. If that colour shows through, transparency is working and the next check is your camera or gameplay layer. If the rectangle stays black, check the exact export and source type.
You know whether to fix the source order, choose a different file or report a problem in the artwork.
In this guide
Before you start
- The extracted graphic and the pack’s file list.
- A separate OBS scene to try it in.
- Two clearly different background colours or images you have permission to use.
Start with the actual overlay file
Extract the download and read any included installation notes. Packs can contain thumbnails, mockups, full-screen scenes and transparent frames with similar names. A Starting Soon background may deliberately fill the screen; a camera frame usually needs an opening. Identify the part that is supposed to reveal something underneath.
A .webm file can carry an alpha channel, which describes transparency, but the extension alone doesn't prove this export contains one. A PNG can also be entirely opaque. Keep the original download intact while you compare files. Renaming a flattened video won't restore transparency that was absent from the export.
Make the two-background check in OBS
Use a separate scene so your comparison doesn't disturb the layout you're building. OBS draws sources higher in the Sources list over those below them. The test therefore needs the overlay above an obvious background, with both sources visible.
Add an opaque colour underneath
Use the + control in Sources to add a Color Source. Choose a bright colour and keep it fully opaque. Give it enough width and height to sit behind the overlay.
Look for: The test scene has an unmistakable coloured background.
If you can't see that background, check its visibility and position before adding another variable.
Load the overlay as the right source
For a local WebM video, add a Media Source and select the extracted file. Put it above the Color Source. For a still PNG, use an Image source instead.
Look for: The overlay is visible over the test colour.
If the whole clip is missing or stops unexpectedly, follow the Media Source playback guide.
Change only the lower colour
Replace the bright background with a very different colour. Leave the overlay file, size and position unchanged. Watch the opening that is meant to be transparent.
Look for: A transparent opening reveals both background colours; an opaque patch keeps its own colour.
Use the matching result below, rather than adding a key filter immediately.
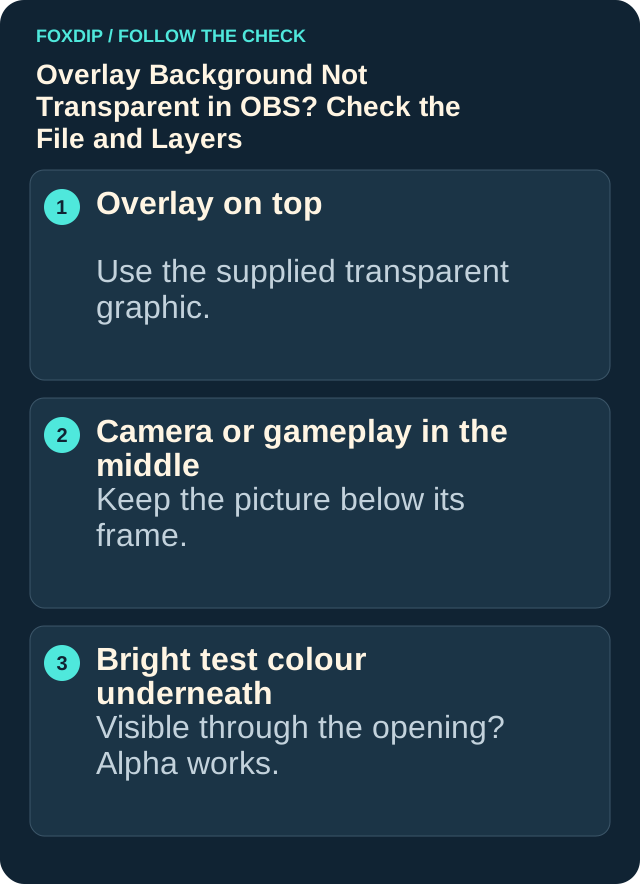
Illustration: follow the branch that matches what you see; menu paths are explained in the steps below.
If the lower colour shows through
Your overlay has an opening in this playback path. Put the intended camera or gameplay source below it, then check that source's eye icon, position and size. A transparent frame can still look black when the area beneath it has no visible picture. Move one layer at a time until the camera sits inside the opening.
Check the source order again in the real scene. A large opaque graphic above the camera can hide it, while a frame underneath the camera can be covered. You don't need to re-export an overlay that already reveals both test colours; carry that working file and source into the layout you actually intend to use.
If a WebM works as Media Source but looks black in Browser
Keep the source types separate. OBS Browser Source loads a web page; its Local file setting is for a local page. A supplied local video belongs in Media Source unless the pack specifically provides an HTML overlay or a hosted widget URL.
OBS's default Browser Source CSS makes the page body transparent. That doesn't create transparency inside opaque video pixels, and a page can contain its own background element. If the same file is transparent as a Media Source, check the supplied page or ask its creator which element supplies the black background. After a page change, Refresh cache of current page reloads its content. Don't replace a pack's custom code with unrelated CSS just to hide the symptom.
If the rectangle stays opaque
Reopen the source properties and check the complete path. Compare it with another export in the pack explicitly described as transparent, if one is supplied. If you have a separate file whose transparency you already know works in OBS, compare it in this same test scene. That distinguishes one troublesome export from a wider playback problem without rebuilding every scene.
Watch the full animation and its return to the start. A solid block on one frame, an edge halo and a permanently opaque rectangle are different observations. Make a short recording and note the moment where the problem appears. Temporarily disable existing effect filters for a comparison, then restore them individually.
Keep colour removal as a deliberate fallback
OBS's Color Key filter removes a selected colour. Keying out black can also remove dark outlines, lettering and shadows that belong to the design. Raising Similarity removes a wider range of pixels. It can make the unwanted patch disappear while damaging the artwork.
For an asset sold or supplied with transparency, ask for the intended alpha export first. Send the creator the exact filename, software, source type and two-background result. Say whether the patch stays opaque or appears at one moment. That gives them a specific export problem to investigate.
Distinguish a missing alpha channel from a bad mask
If a source is visible but its shape is wrong, disable any Image Mask/Blend filter for one local comparison. A mask can remove part of a source even when the source file itself has valid transparency. Keep the original file and the mask as separate items when describing the problem.
OBS’s alpha-channel mask mode preserves opaque mask regions and removes transparent ones. That differs from colour-channel masking. If a supplied mask cuts the opposite area from the one you intended, inspect its mode and the actual mask image before trying to remove a background with Colour Key.
| Observation | Next change | Expected result |
|---|---|---|
| Overlay becomes correct when its mask is disabled | Check the mask image and selected mask mode | Fix the masking stage without re-exporting a good asset |
| Opaque rectangle remains with all masks disabled | Compare the file over two coloured backgrounds | Investigate the asset’s transparency itself |
| The opening is correct but stretched | Check aspect ratio and mask stretch behaviour | Keep the intended frame proportions |
Use cropping for a rectangular opening before adding a mask. How to Crop a Webcam in OBS Without Stretching It ↗
Still stuck?
The black opening changes when I replace the background.
Transparency is showing the lower source. Restore the intended camera or gameplay and check its position and visibility.
The rectangle stays the same over two backgrounds.
Confirm the original asset path and whether the pack actually promises transparency for that file.
Only one moment of the animation shows a block.
Record the full loop, identify the affected moment and supply the exact file name when reporting the issue.
Sources & references
Based on the official support references below. Choose the steps that match your message, operating system and current app controls. November 2026 addition: documentation-based diagnostic examples; no new hands-on hardware result or platform upload test is claimed.
- OBS — Sources Guide ↗Checked 2026-10-23
- OBS — Color Source ↗Checked 2026-10-23
- OBS — Media Sources ↗Checked 2026-10-23
- OBS — Browser Source ↗Checked 2026-10-23
- OBS — OBS Studio Overview Guide ↗Checked 2026-10-23
- OBS — Filters Guide ↗Checked 2026-10-23
- OBS — Color Key Filter ↗Checked 2026-10-23
- Chrome for Developers — Alpha transparency in Chrome video ↗Checked 2026-10-23
- OBS — Image Mask/Blend Filter ↗Checked 2026-11-04
Spotted something out of date? Let Alex know.
How we put our guides together ↗