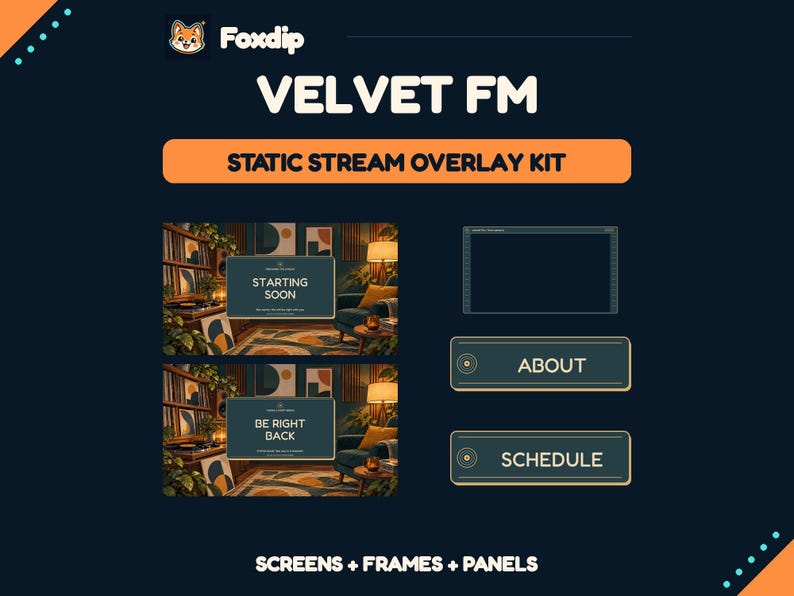
Keep the performer’s face, hands and instrument visible, then put song information on a separate quiet panel. Use a performance state with restrained graphics and a conversation state for requests, explanations and longer messages.
In this guide
Frame the performance you actually give
A singer at a microphone, a keyboard player and a guitarist need different crops. Mark the full movement of the instrument and hands before placing a frame. A head-and-shoulders camera opening may work for conversation while cutting off the very technique viewers came to see.
For a keyboard performance, leave a clear view of the hands or prepare a second angle if your setup supports it. For a guitar, include enough neck and picking-hand space for the way you play. These are composition examples rather than requirements to buy more cameras. Use the clearest angle you already have before adding a complex multi-view layout.
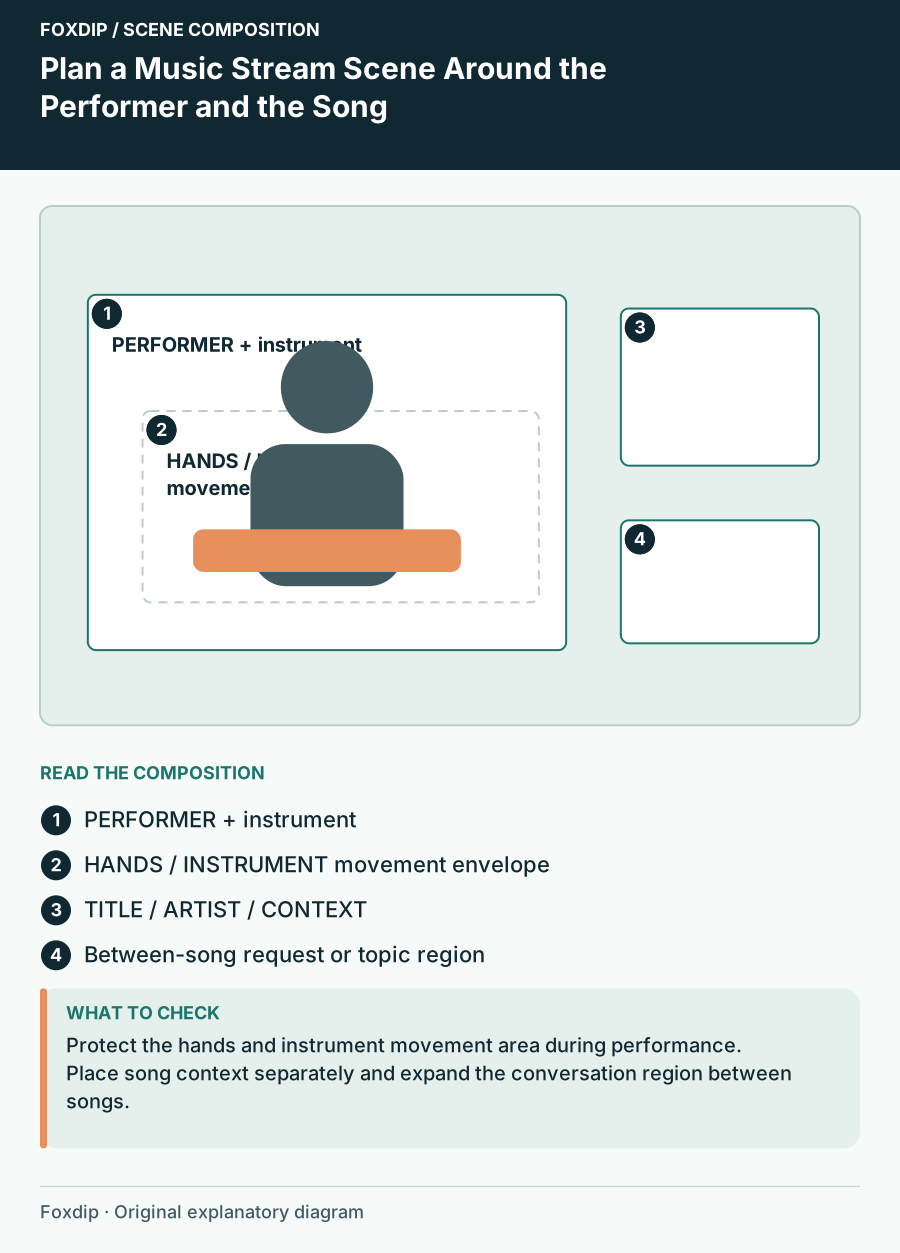
Original Foxdip scene plan. Positions illustrate this example; check the actual game or camera view.
Build a song card with a predictable shape
Place the current title and relevant performer or writer information on a stable surface away from the instrument. Keep the card wide enough for a long title and allow a deliberate second line rather than shrinking the whole label. A small song label should not compete with the face or hands.
Use a hierarchy such as title first, artist or programme context second and optional arrangement note third. Include only information you can maintain accurately during the show. If a field is unknown, omit it or resolve it before the performance; an attractive automated label is not a reason to publish a guess.
| Field | Purpose | Placement rule |
|---|---|---|
| Current title | Identify the piece | Strongest line in the card |
| Artist or writer context | Explain the attribution | Smaller but readable |
| Optional note | Original, arrangement or segment context | Use accurate wording only |
| Requests status | Explain audience interaction | Separate from the current title |
Use two states for two kinds of attention
The performance state can keep the song card, camera and a restrained event region. The conversation state can make room for request information, a topic or a larger chat message. Preserve the performer’s position where possible so the switch feels like a change of emphasis rather than a new programme.
Avoid placing routine animated notifications over the instrument. If you use event visuals, choose a region that stays clear through the widest movement and compare it with a long name. A small quiet acknowledgement can be easier to accommodate during a piece, with a fuller response between songs.
Keep changing text separate from the scenery
OBS text sources can carry a song label independently of the background, including text read from a file. Confirm the workflow you actually use before relying on automatic updates. A separately editable card makes it easier to correct a title without replacing the full scene.
Displaying a song title or credit is an information choice, not permission to broadcast the music. Twitch’s copyright FAQ explains that usage depends on the rights involved. Check the current platform guidance and the permissions for your programme separately; a graphics pack, player subscription or credit line does not settle that question.
Rehearse the transition between songs
Record one short performance segment, an acknowledgement and the next introduction. Check whether the old title remains after you move on and whether a request message hides the hands. Watch at a smaller player size and ensure the instrument remains recognisable when the labels are visible.
Keep a fallback label ready for conversation or a technical pause so the scene does not falsely identify a song that has stopped. Save the camera crop, song-card region and update method together. When choosing music-themed artwork, prioritise room for the actual performance; decorative waveforms and stage lights can support the scene after that geometry works.
Sources & references
Foxdip editorial design advice with platform behavior grounded in the linked official documentation. Layout dimensions and palettes are worked examples, not platform requirements.
- OBS: Text Sources ↗Checked 2026-10-27
- Twitch: DMCA & Copyright FAQs ↗Checked 2026-10-27
Spotted something out of date? Let Alex know.
How we put our guides together ↗