
Create a separate unlisted live event, confirm its visibility before sending video, and test the watch page with a trusted viewer.
Create a separate unlisted rehearsal and check your real watch page, audio, scenes and ending procedure.
In this guide
Before you start
- YouTube live streaming enabled for the channel.
- An encoder and a separate unlisted test event.
Use a separate rehearsal event
Create a new event for the rehearsal instead of experimenting on the public event you already advertised. Choose Unlisted explicitly. Anyone with its link can watch and reshare it, so keep private conversations, account details and unreleased material out of the test. Use Private if link-based access is too broad for the material you need to check.
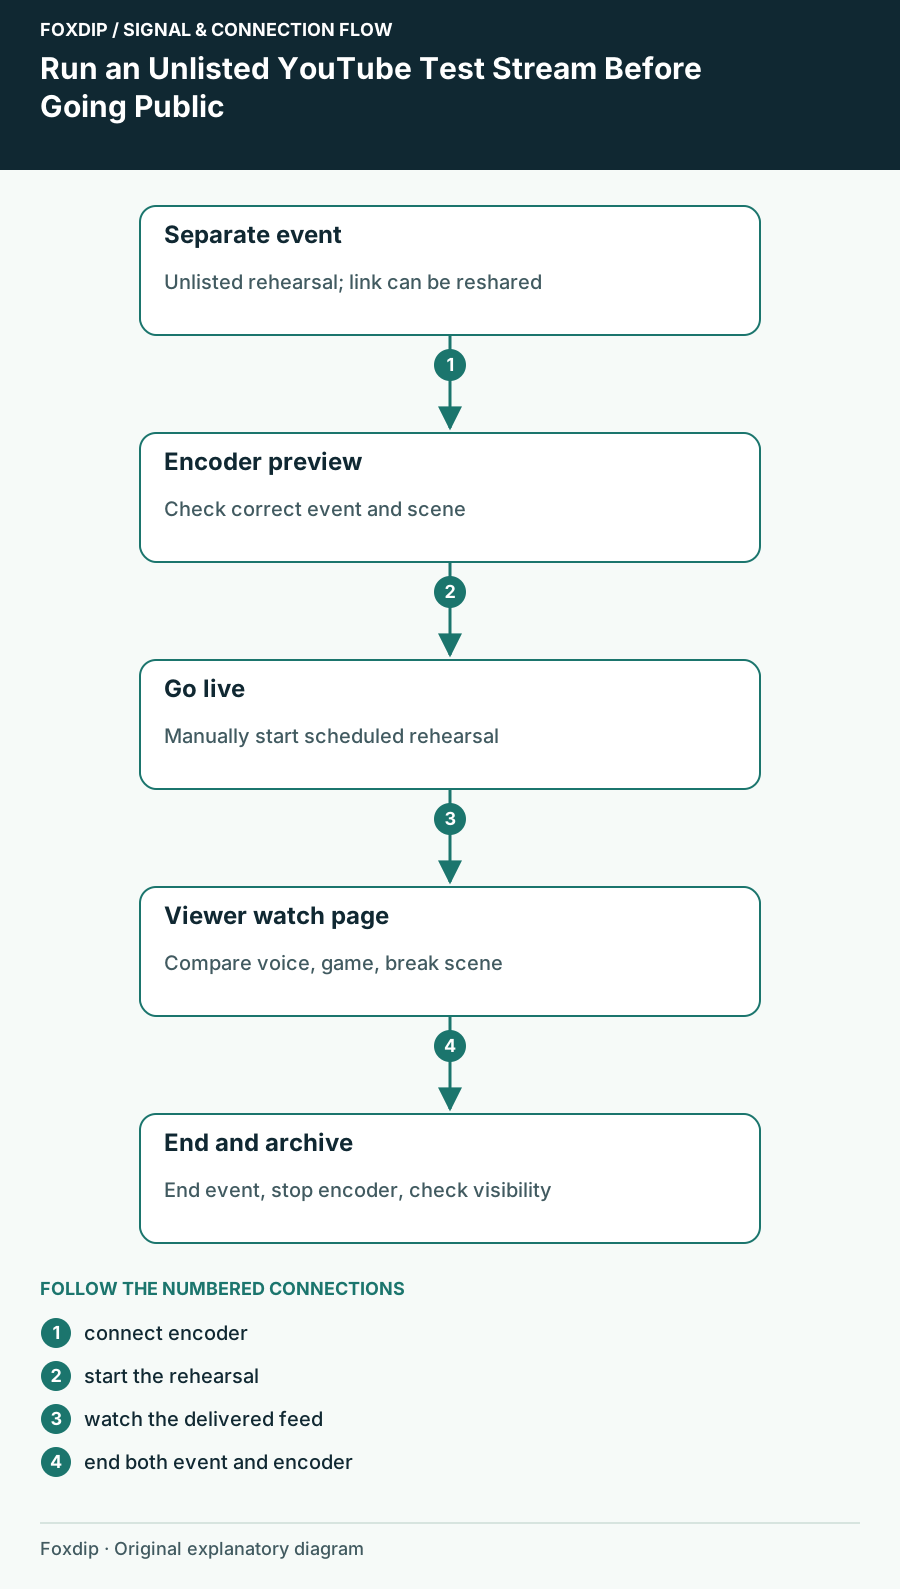
Original Foxdip schematic. Follow the labelled checks alongside the guide.
Enable live streaming before rehearsal day
Enable live streaming ahead of time. YouTube says first-time activation may take up to 24 hours. That is a reason to prepare early, not a promise that a new channel can begin immediately. Confirm the channel itself is eligible before spending the rehearsal on encoder troubleshooting.
Create and inspect the scheduled test
In YouTube Studio, choose Create → Go live, open Manage and schedule a new stream. Use a title you can recognize as a test and select Unlisted in its visibility settings. If you reuse a previous event’s settings, review them again: copied metadata is convenient, but can preserve a choice you didn’t intend.
Check the event details
Confirm the channel, title, visibility, audience designation and intended start for the rehearsal.
Look for: You are editing the test event rather than the public show.
Connect the encoder
Choose the intended YouTube event in supported account integration, or use that event’s server and stream key privately.
Look for: The encoder sends to the selected rehearsal.
Inspect the preview
Start sending video and wait for Live Control Room to show the correct picture before selecting Go live for a manually started scheduled event.
Look for: The preview matches the scene you expect.
Watch through a viewer path
Open the unlisted watch link on another device, or ask a trusted person to use it. Mute the local watch player near your microphone or use headphones so the rehearsal does not create its own feedback loop. Check the actual video and sound coming back from YouTube, not only the encoder meters.
Run a short planned sequence: speak normally, make one louder reaction, play a game sound, change to the break scene and return. Ask the viewer to describe what they hear at each point. This gives a faulty route a recognizable moment in the test rather than an unexplained report that “the audio is odd.”
Keep the observations specific
Write down the scene, action and visible result for each issue. For example, “voice is present on the game scene and missing after the break transition” is more actionable than “YouTube lost my microphone.” Compare the same transition in a local recording to narrow whether the problem begins before or after the encoder output.
Check text and webcam framing on a small screen as well. If chat interaction matters, send a message and respond aloud so the viewer can judge whether the delay fits the format. This is a rehearsal observation for your setup, not a universal latency measurement.
Practice ending, then check the archive
End the scheduled stream in Live Control Room and stop the encoder. Open Studio’s Live content list and confirm the rehearsal is no longer live. Inspect the resulting archive’s visibility rather than assuming every copied or later-edited event stays unlisted.
Keep the short issue list and rerun only the parts you changed. When you prepare the public event, recheck its title, visibility and selected encoder destination from the beginning. A successful test proves that rehearsal worked; the public event still needs to point at the same intended scenes and audio routes.
Sources & references
Based on the official documentation linked beside the relevant sections. Follow the checks on your own setup; no hardware measurements or account tests are claimed.
- YouTube — Create a live stream with an encoder ↗Checked 2026-10-27
- YouTube — Manage live stream settings ↗Checked 2026-10-27
- YouTube — Change video privacy settings ↗Checked 2026-10-27
Spotted something out of date? Let Alex know.
How we put our guides together ↗