
Start OBS Virtual Camera, select it as Discord’s camera and check whether OBS is sending Program, Preview, a fixed Scene or a Source.
Send the intended OBS scene to Discord, keep editing previews private and select your microphone separately.
In this guide
Before you start
- OBS with Virtual Camera available on your OS.
- Discord camera access and Video permission for the test call.
Choose what the virtual camera should follow
For a camera feed that follows your normal OBS output, choose Program in the virtual camera settings. Choose a fixed Scene when Discord should keep one composed view while your main broadcast changes. These are different workflows, and choosing deliberately prevents a scene transition from surprising a call.
Be careful with Preview in Studio Mode. OBS documents that this target shows the preview, including edits and scene choices before you transition them. If you want room to prepare the next shot privately, Preview is the wrong target for the caller-facing feed.
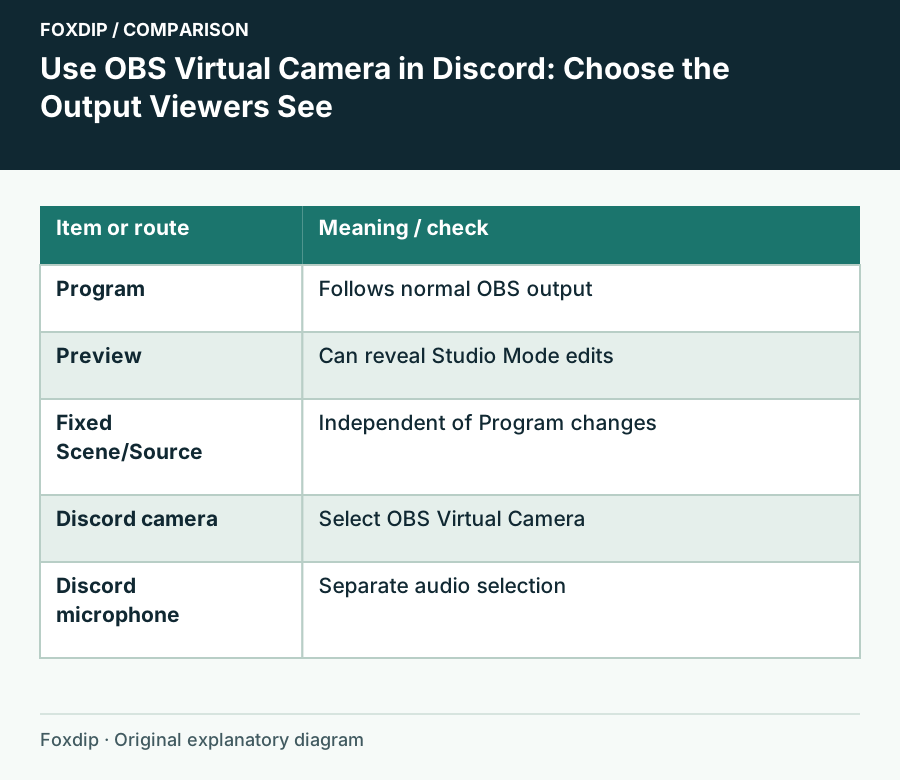
Original Foxdip schematic. Follow the labelled checks alongside the guide.
Start the video route in OBS
Build a simple scene first: the intended camera, framing and any graphics the call needs. Remove test labels or private sources from that scene. Open the virtual camera settings from the gear beside its control, inspect the target, then start the virtual camera.
You can use the Source target when you deliberately want one source without the rest of a composition. A fixed target can be helpful, but it can also explain a feed that appears “stuck” while your Program view changes. Read the selected target before troubleshooting it as a frozen camera.
Select and test it in Discord
In Discord, open Voice & Video and select OBS Virtual Camera in the Camera dropdown. Use Test Video before enabling the feed in a call. Discord notes that some users may have an experimental call interface, so follow the camera control’s label rather than relying on an identical button position.
Choose the named camera
Select OBS Virtual Camera rather than the physical webcam directly.
Look for: Discord should show the composed OBS feed.
Test a visible change
Move a harmless object or change a test label in the intended OBS target.
Look for: Discord’s preview updates from the route you selected.
Join a permitted call
Enable video in a DM or server channel where you have Video permission.
Look for: A willing viewer can confirm the actual received composition.
Keep the microphone decision separate
Treat the virtual camera as the video route. Choose your voice input separately in Discord and test it separately. Seeing the OBS Audio Mixer move does not establish that the Discord voice input receives that audio. A camera selection is not a complete mix-routing setup.
For an ordinary call, select your intended microphone or processed microphone device. Don’t select a full stream mix just because it contains your voice: it may also contain the callers themselves. If you need to share game sound, rehearse Discord’s app-sharing audio path independently from the camera feed.
Check transitions and a safe ending
Ask the viewer to report the framing, legibility and any crop that differs from your OBS preview. Change one scene while they watch. If Discord should stay on a fixed composition, confirm it does; if it should follow Program, confirm the transition appears.
Practice hiding the camera or stopping the virtual camera before opening private content. Then restore the intended scene and repeat a brief video-and-voice check. If OBS Virtual Camera does not appear at all, stop this composition test and use OBS’s installation guidance for your actual operating system instead of applying Windows driver steps to macOS or Linux.
Sources & references
Based on the official documentation linked beside the relevant sections. Follow the checks on your own setup; no hardware measurements or account tests are claimed.
- OBS — Virtual Camera Guide ↗Checked 2026-10-27
- Discord — Video Calls ↗Checked 2026-10-27
Spotted something out of date? Let Alex know.
How we put our guides together ↗