
On the original Blue Yeti, choose cardioid, speak toward the Blue-logo side and move it to a comfortable close position before reducing gain.
Set the original four-pattern Blue Yeti for one speaker and compare placement before adding stronger suppression.
In this guide
Before you start
- The original USB Yeti with four-pattern selector and rear gain knob.
- A safe stand position and a local recording app.
Use the controls for the original Yeti
This guide is for the original USB Yeti with a rear gain knob and a four-pattern selector. Yeti Nano, Yeti X, Yeti GX and newer Yeti models have different controls. Confirm the model before searching for a switch or copying a control position from a video.
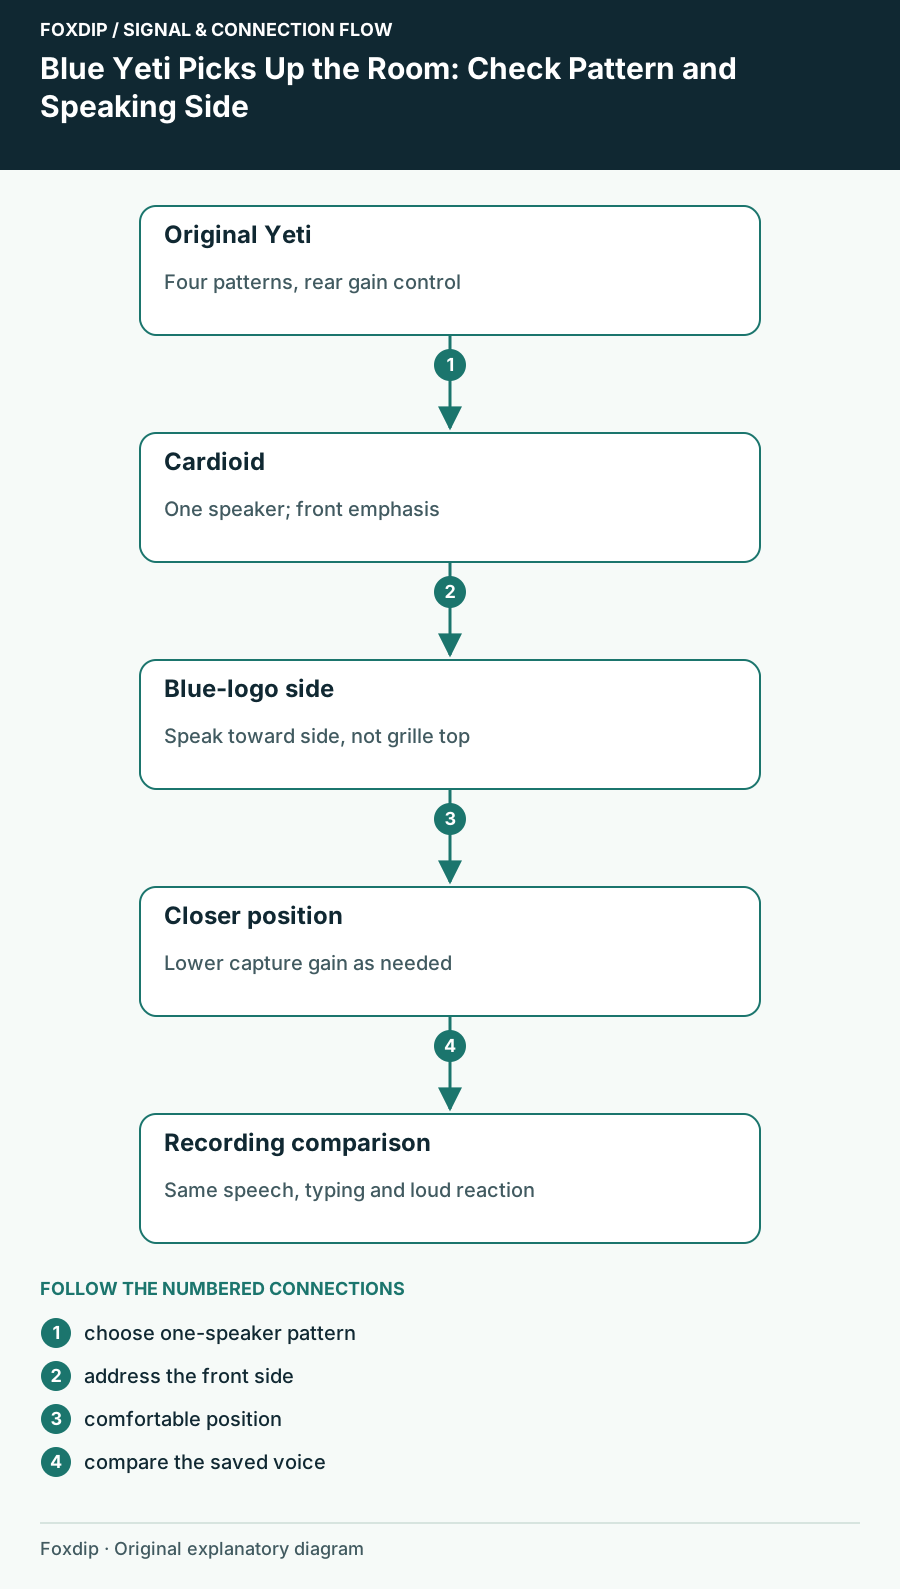
Original Foxdip schematic. Follow the labelled checks alongside the guide.
Use cardioid for one desk speaker
For one person speaking at a desk, choose the cardioid pattern shown by its heart-shaped symbol. The original guide describes this pattern as emphasizing the front. It does not make the microphone reject every keyboard, fan or room reflection; placement still determines what reaches the capsule.
Speak into the side with the logo
The original Yeti is a side-address microphone. Face the Blue-logo side rather than pointing the top of the grille at your mouth. Keep that front facing you when the microphone is upright or mounted on an arm. Tighten the stand pivots carefully so it stays at the angle you choose.
Record one sentence with the correct side facing you, then listen. If the voice becomes clearer, keep the orientation and adjust position next. Changing pattern, orientation and several filters together makes it harder to know why the recording improved.
Improve voice-to-room balance before adding gain
Bring the mic to a place you can comfortably speak toward while watching the screen. Start with a moderate distance and move closer in small steps, keeping the same speaking volume. Then lower input gain as needed to keep louder reactions from clipping. The rear gain knob affects capture; the front headphone control changes listening level.
Position the keyboard and other avoidable noise away from the microphone’s front when your desk allows it. Don’t create an uncomfortable posture to chase a perfect diagram. A stable speaking position that you can maintain through play is more useful than a close position you abandon after two minutes.
Use a short comparison you can repeat
Make local recordings rather than judging only from live monitoring. Include speech, a pause, ordinary typing and one louder reaction. Keep the room and keyboard use similar across versions. Name the files by the changed variable so you can return to the better position.
Record the starting setup
Speak the same sentence and type normally with your current placement.
Look for: You have a reference for both voice and room noise.
Move the mic closer
Keep cardioid and the logo side facing you, then reduce capture gain if necessary.
Look for: Your voice should remain controlled without needing the previous gain.
Compare at similar listening loudness
Play both clips back and focus on voice clarity relative to the room, not which file is simply louder.
Look for: You can judge the placement change fairly.
Use processing for the noise that remains
If the new position works but pauses are still distracting, add modest suppression or a gate and check quiet sentence endings. A gate can silence pauses without removing noise underneath speech. Stronger processing is not a substitute for speaking into the correct side.
If keyboard thumps travel through the stand, compare a different safe stand position or a compatible isolated mount before replacing the microphone. If a fan dominates the recording, address its location or speed through supported device controls. Finish with an OBS recording using the intended input, and keep the physical position with your saved processing notes.
Sources & references
Based on the official documentation linked beside the relevant sections. Follow the checks on your own setup; no hardware measurements or account tests are claimed.
- Logitech / Blue — Original Yeti Quick Start Guide ↗Checked 2026-10-27
Spotted something out of date? Let Alex know.
How we put our guides together ↗